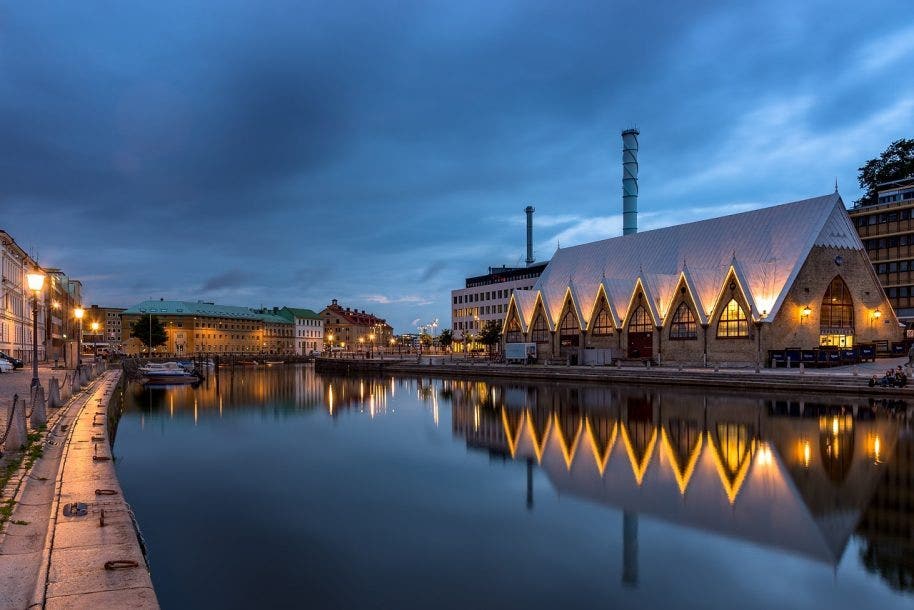
Camera technology has dramatically improved over the past decade, making cameras far better equipped to photograph low light scenes without flash.
Used well, flash can introduce natural, warm light into the scene. But many times, especially when you’re using a camera with a pop-up flash without much control, the sudden burst of light can wash out your shots and destroy the ambience.
There’s plenty you can do as a photographer to improve your images in dark scenarios without resorting to the flash. We’ve provided a list of tips below that will help you shoot in low light without flash and still achieve sharp, clean shots.
Plan ahead
Low light photography is always going to work better when you know the situation you’re going into. Sometimes this means visiting your location ahead of time, gauging what natural lighting you can use and what street lamps or indoor lights are available.
Planning your shoot also ensures you take along all the equipment you need, from a tripod and remote shutter to a speedy lens, or even stand-alone flashbulbs and diffusers.
Adjust your shutter speed for low light
If ever there’s a time to switch to the Shutter Priority mode, it’s in low light conditions. In dark scenes, your camera needs to collect more natural light - and to do this without the flash, you need to open the shutter for longer so more light floods in.
Try your best to keep the shutter speed above 1/200 if you’re holding the camera yourself but want to freeze the action. But if you have a tripod, you can get a lot more creative...
Achieve stability with a tripod
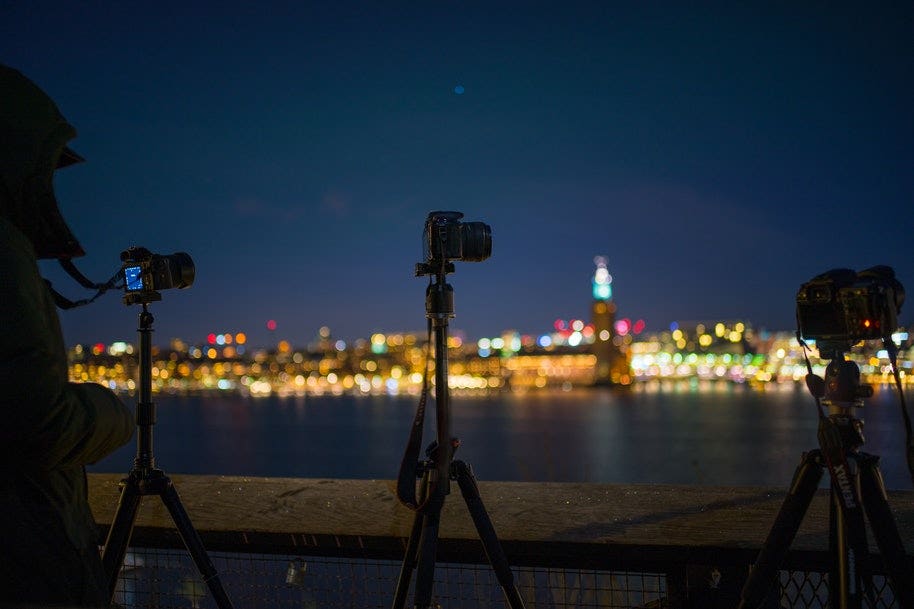
Leaving the shutter open longer increases the chances your camera will capture your camera shaking and create blurry images.
Using a tripod, especially when you combine it with a remote shutter, eliminates camera shake and helps you gather more natural light.
Keep in mind that there’s very little you can do with a slow shutter speed if your subject is moving around.
Increase the ISO
ISO measures your camera’s sensitivity to light; the higher the ISO, the more sensitive the camera is to the ambient light. Increasing the ISO also lets you increase your shutter speed, often eliminating the need for tripods altogether.
But don’t forget, there are some trade-offs for a higher ISO. It reduces your image quality, introducing more noise and often translating into a grainy effect.
Today, you can combat noise somewhat in post-production while sharpening is a lot harder to achieve if blur is written into your image.
Lower your aperture for low light
We’ve talked about shutter speed and ISO; naturally, dealing with the last corner of the exposure triangle - the aperture - can also help you shoot in low light.
Lowering your aperture widens the hole light travels through to reach the camera sensor. So dial your f-stop right the way down to f/4 or even lower and you’ll improve your ability to take photos in dark situations.
Having a wider aperture (especially when combined with a higher ISO) means you can keep your shutter speed faster, reducing chances of blur and keeping your image sharp.
Keep in mind that a wider aperture impacts depth of field so large parts of your image may be out of focus.
You’ll also need a camera lens with a big aperture. These are typically available for DSLR and mirrorless cameras. Kit lenses rarely pass the grade for this, offering up a maximum aperture of about f/3.6.
But some prime lenses can take the aperture as wide as f/1.8 or even wider. These pieces of equipment can be costly but will dramatically transform your shots.
Shoot in RAW
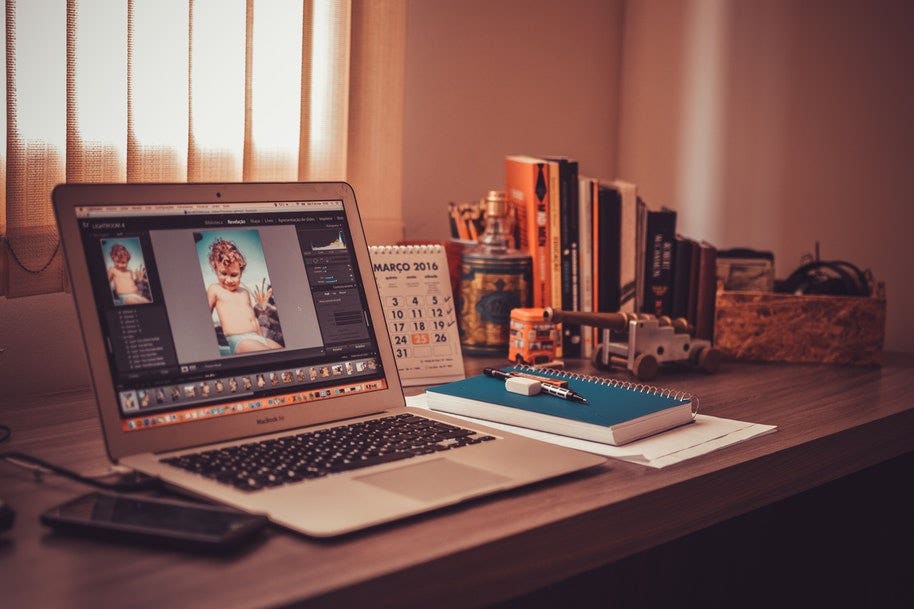
Chances are you’ll want to edit your photo a little to bring out the light and colours more.
While images shot in the JPEG format can be edited, the edits won’t be as effective and the post-processing options will be more limited.
Not only this, RAW file images will automatically be sharper and of a higher quality.
Know your white balance
Darker scenes can cause your photos to look bland or washed out. Of course, you can correct this in post-processing, but it’s always better to get your colours right from the outset.
Every digital camera comes with white balance settings that help you tell the camera how the image should look. Putting your settings into auto mode usually does a good enough job; modern cameras are intelligent enough to read the scenes and adjust accordingly.
But in low light situations, you may need to give it a helping hand by adjusting the white balance to the type of light you’re using (such as tungsten or fluorescent).
Switch to black and white
Low light photography can look quite impacting when you desaturate the image and opt for monochrome.
Black and white photos eliminate any colour issues caused by poor white balance while dark scenes rendered in shades of grey can create a dramatic effect.
Are you ready to shoot in low light?
Challenge yourself with a creative new photography endeavour and up your photography game by learning how to take incredible, sharp photos in low light - without flash.
Visit our team at your local store to learn new photography tips or get some advice on the best accessories to start improving your low light photography today.