Street photography is a genre of photography that captures life on the streets, capturing real and candid moments in an urban environment. If you're new to photography or looking to branch out into new areas, street photography is a great place to start. As a beginner, you'll learn to observe and capture the world around you in a creative and unique way.
Below, we’ve listed our top street photography tips to help you nail the shot every time you step outside.
1. Understanding the basics of street photography
Street photography is a type of photography that focuses on capturing candid moments, scenes, and people in public spaces, typically in urban environments. It is characterized by its spontaneous, unplanned, and often unposed nature, and often seeks to document everyday life, human emotions, and social interactions in an artistic and meaningful way.
Street photographers typically work in public places such as streets, parks, and markets, and often use techniques such as shooting from the hip, playing with reflections and shadows, and looking for interesting light and compositions. Street photography can be both a technical and creative challenge, and is often seen as a way to capture the essence of a city, a culture, or a moment in time.
2. Finding interesting subjects and compositions
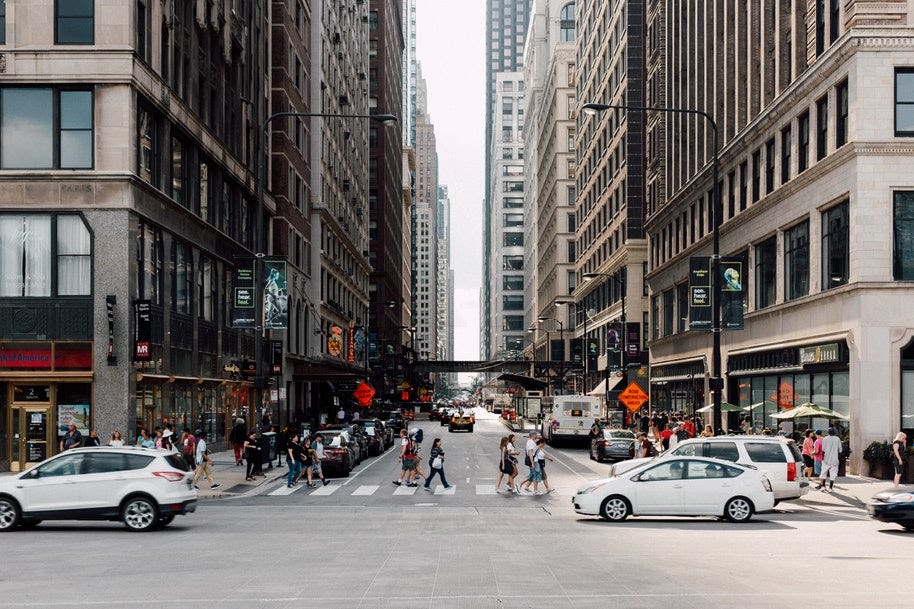
Finding interesting subjects and compositions is a critical aspect of street photography. To capture compelling images, you need to be constantly on the lookout for interesting scenes, people, and moments. This means paying attention to your surroundings and being mindful of what's happening around you. As you walk around the city, look for interesting characters, dynamic interactions, and unusual juxtapositions. You should also be aware of your surroundings, taking into account the architecture, lighting, and other elements that can impact the final image.
Composition is about the way your photo is framed. Think about the point of focus of your shot. Is it the person walking past or the graffiti on the wall behind them?
Look for simple scenes
Street photography is about simplicity so try not to have too many elements that clutter the frame and confuse the eye. Either fill the frame with a single scene or embrace some negative space.
Experiment with different angles
Shoot from up high and down low, from far away and up close, so you can figure out what framing works best for you.
Look for leading lines
Streetscapes are filled with interesting geometric patterns, curves and lines. Look for strong lines, shapes, and textures. They help add drama, character and emotion to your photos.
Leading lines could be alleyways, driveways, or light poles and they add an element of interest to your background. Once you’ve found a good scene with leading lines, try the “fishing technique” we mention below and wait for something interesting to happen in that space.
You can even add more intrigue to your photos by experimenting with angles. Why not shoot diagonally, for example?
Look for opposites
A common feature of street photographs is juxtaposition. This is where you find contrasting elements that still have a relationship to one another.
Look for contradicting emotions, subjects, composition, or themes – anything that might surprise.
3. Be selective about your street photography camera & equipment
Street photography often requires stealth. You’ll want to be as discreet as possible so you don’t spook your subjects. The less equipment you’ll have on you, the less intimidating you’ll appear and the more nimble you can be.
A compact system camera, also called a mirrorless camera, is the perfect stealthy companion for street photography. With professional capabilities in a petite frame, they will help you get the shot you need without hauling a heavier DSLR around.
Having a mirrorless camera with a fully articulating screen, such as the Nikon Z5 or Canon R7, means you can also shoot from an array of low, high, and awkward angles.
Another bonus is that you can swap out the lenses on a mirrorless camera, so you have exactly the right lens you need for street photography. In this case, that lens would be a wide angle lens between 25mm and 50mm.
You might be tempted to carry a zoom so you can take photos from afar, which will feel less awkward, particularly for beginners. But street photography is about getting up close and personal with your subject.
A prime lens built with a wide angle is usually compact and discreet. As another bonus, you can also avoid pointing the lens directly at your subject—thanks to the wide angle, you’ll still be able to capture them, something you can’t do with a zoom lens.
4. Street photography camera settings
Choosing the right camera settings is an important aspect of street photography. As a beginner, it's essential to understand the basic settings of your camera and how they can impact your images. Here are some key camera settings to consider:
- Shutter speed: A fast shutter speed is crucial in street photography, allowing you to freeze action and avoid camera shake. Consider using a shutter speed of 1/125 or higher to capture sharp images.
- Aperture: Aperture affects the depth of field and the amount of light entering the lens. In street photography, you may want to use a wider aperture such as f/2.8 or f/4 to create a shallow depth of field and isolate the subject from the background.
- ISO: ISO is used to control the camera's sensitivity to light. In low light situations, you may need to increase the ISO to get a properly exposed image. However, keep in mind that higher ISO values can result in noise and grain in your photos.
- Focus: In street photography, it's important to be able to quickly and accurately focus on your subjects. Consider using autofocus or back button focus, and choose a focus point that corresponds to where you want to focus in the frame.
- Shooting mode: Consider using a semi-automatic or manual shooting mode, such as aperture priority or manual, to have more control over your camera settings. This will give you the flexibility to adjust your settings in real-time based on the lighting conditions and your desired outcome.
Alternatively, if you want a more creative shot, blur can add an element of intrigue. To blur vehicles or people – or if you want to pan a moving subject so the background is a blur – try slower shutter speeds.
Shadows and light can make a great effect in street photography. Dial down your Exposure Compensation setting to negative numbers: -1 or -2 exposure compensation. This can help add more negative space by creating dramatic shadows in the background and highlighting your subjects.
5. Experimenting with angles and perspectives
When you’re just starting out, you might be tempted just to take one or two photos of a scene before moving on. This is a common beginner’s mistake.
Professional street photographers will work the scene, capturing the same scene from different angles and perspectives. They could take anywhere from 10 to 20 photographs of the same subject.
Experimenting with angles and perspectives is a fun and creative aspect of street photography. By changing the way you look at the world, you can create unique and interesting images that stand out from the crowd. Here are some tips for experimenting with angles and perspectives in street photography:
- Get low: Shooting from a low angle can give a dramatic perspective and emphasize the size and power of buildings and other structures. Try crouching or lying down to get a different perspective on your subjects.
- Get high: Shooting from a high angle can provide a bird's eye view of the street and give a different perspective on the scene. Climb up to a higher viewpoint, such as a bridge, rooftop or balcony, to see the world from a different angle.
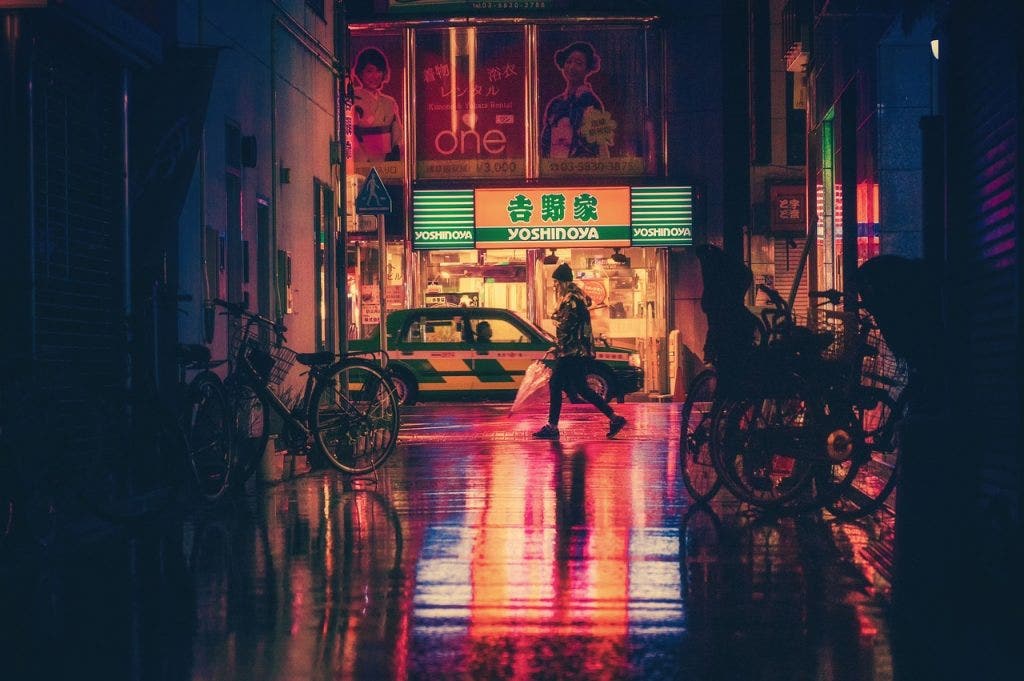
- Use reflections: Reflections can add an interesting element to your images and provide a unique perspective. Look for reflections in puddles, windows, and other shiny surfaces to create interesting compositions.
- Experiment with angles: Don't be afraid to try different angles and perspectives when shooting street photography. Shoot from the hip, from above, from below, or from the side to create unique and creative images.
- Play with symmetry: Symmetry can create interesting and visually pleasing compositions. Look for symmetrical elements in the scene, such as doors, windows, or reflections, and use them to create balanced and harmonious images.
By experimenting with different angles and perspectives, you can add a new dimension to your street photography and create images that are visually compelling and engaging. You’ll need to make sure you have plenty of memory on hand, which is why it’s always ideal to carry around additional memory cards.
6. Understanding the laws and ethics of street photography
This is a difficult question. Many beginner street photographers will experience awkwardness when taking someone’s portrait and it can help to approach interesting subjects and ask respectfully to take their photo. Just be aware that many people can start acting differently in front of a camera.
Understanding the laws and ethics of street photography is crucial for photographers who want to capture images of people and public spaces. Street photography often involves taking photos of people in public places, which can raise questions about privacy, consent, and personal rights. Here are some key laws and ethical considerations to keep in mind:
- Privacy: When photographing people in public places, it's important to respect their privacy. Avoid taking photos of people in intimate or compromising situations, or without their consent.
- Consent: If you're photographing someone in a public place, it's good practice to ask for their consent before taking their photo. This shows respect for their privacy and helps to avoid any potential legal issues.
- Property rights: When taking photos in public places, be mindful of property rights. You can generally take photos of public spaces and buildings, but you may need permission to take photos of privately owned buildings or structures.
- Respecting personal space: In street photography, it's important to be respectful of people's personal space. Avoid getting too close to your subjects, and be mindful of how you're approaching them and their surroundings.
- Laws and regulations: It's important to be aware of local laws and regulations regarding photography in public places. Some countries and cities have laws that restrict or prohibit photography in certain areas, so be sure to research and understand the rules before taking photos.
If you’re shooting for professional publication, you will need a Creative Release form, outlined in the video below.
7. Processing and editing your photos
Processing and editing your photos is an important part of street photography. By carefully selecting and processing your images, you can bring out the best in your photos and create a consistent look and feel to your work. Here are some tips for processing and editing your street photography:
- Select your best images: When processing your street photography, start by selecting your best images. Look for images that tell a story, capture the essence of the street, or have a unique or interesting composition.
- Adjust the exposure: If necessary, adjust the exposure of your images to bring out the details and make the image look its best. Consider adjusting the brightness, contrast, and shadows to create a well-balanced image.
- Convert to black and white: Street photography often works well in black and white, as it can help to emphasize the contrast and mood of the image. If you're converting your images to black and white, be mindful of the tonality and adjust the levels and curves to achieve the desired look.
- Sharpen the image: To bring out the details and make your images pop, consider sharpening the image. Be careful not to over-sharpen, as this can cause halos and other unwanted artifacts.
- Use selective adjustments: Use selective adjustments, such as dodging and burning, to bring out the details and add emphasis to certain parts of the image. Be careful not to over-process your images and try to maintain a natural and balanced look.
- Keep it simple: When processing your street photography, it's important to keep it simple. Avoid using too many filters or effects, as this can detract from the authenticity and impact of the image.
Ready to put these street photography tips into practice?
The best way to get into street photography is simply to start, whether you begin by snapping shots on your smartphone as you walk your dog or you’re looking to upgrade and start taking it seriously.
We’ve got plenty more tips where these came from. Follow our Camera House YouTube account to receive photography tips, advice, and product updates.
Discover more useful articles below: