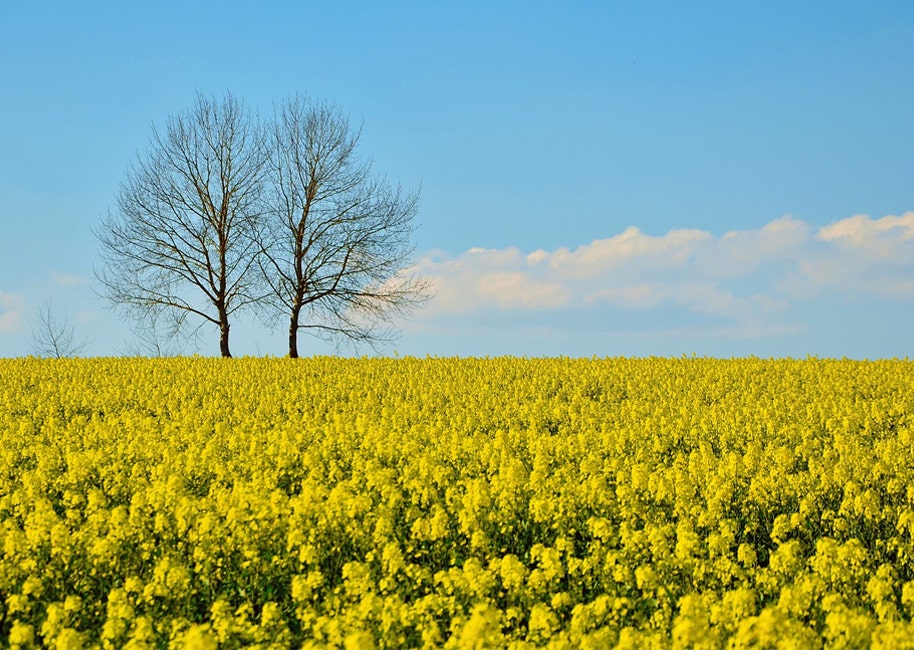
Most people send up a cheer when it’s a perfectly sunny day. That is, most people, except photographers.
Any photographer will be familiar with the frustration of taking photographs in direct sunlight. Bright, sunlit scenes can cause “raccoon eyes”, shadows under a subject’s eyes, squinty looks, and overexposed images.
During summer, the sun can be too bright for many photographers, especially at midday. But if you’re itching to venture outdoors, here are a few handy tips to help you get some impressive snaps, even with the strong sun standing in your way.
Shoot at Dawn or Dusk
Summer sunlight is at its harshest in the peak of the day, between 11am and 3pm. This is when it casts those harsh shadows that can ruin a shot.
So the best way to avoid this is to shoot at either end of the day. Early morning and late afternoon to evening are beautiful times of day in summer to take pictures. The sun is at a lower angle and the light is warmer and softer as it travels further through the atmosphere.
Golden Hour, the time right after sunrise and before sunset, works perfectly to capture scintillating snapshots. If you shoot with the sun behind your subject, you’ll get some impressive backlighting… but more on that below!
Use a Fill Flash
The midday sun can be unforgiving, creating uneven lighting that can be tough to tackle. Luckily, there are a few tricks to eliminating sharp shadows. The fill flash is an easy one.
The fill flash will lighten up your darkest spots. Most of the time, you can just use your camera’s built-in flash, if it has one. But you have to be sure your camera is set to “fill flash” mode, otherwise you might flood your subject with light.
Shoot Landscapes and Wildlife
Bright light shots are not always the best for portrait photography, but the camera settings you’ll need for sunny days work perfectly for landscape and wildlife photography.
On bright days, you need a smaller aperture and fast shutter speed to reduce the amount of light hitting your sensor and avoid overexposure. These same settings help you capture the sharpness and clarity needed for wildlife and landscape subjects.
Find an open landscape, such as rolling hills, and set up an aperture of f22 or higher. Of course, you’ll benefit from the use of a tripod to stabilise your shots! For wildlife photos, increase your shutter speed to upwards of 1/1000s or 1/1500s.
To accentuate the vibrant colours, increase the saturation in your photographs in post-production.
Find Shade for Portraits
We’re always going on about how important it is to use natural lighting whenever you can, especially in portrait photography.
So to keep your portraits looking natural, just move your subject into the shade, such as a under tree or near a building. Make sure the sun hits the side of their face so they’re not squinting.
The shadow will soften the light on your subject’s face while still providing enough sunlight for you to use as a natural light source.
You might want to correct the slightly blue tint by using a gold reflector or your DSLR’s colour balance settings (or using your compact camera’s “snow” settings).
Backlight Your Portrait Subjects
If you can’t find shade, why not put the sun behind your subject? You’ll be surprised at the stunning results this can create. Backlighting your subject creates a kind of halo around their body - and especially their hair.
Backlighting also serves to separate your subject from the background and is particularly popular for wedding photos.
Watch your exposure and use either fill flash or a reflector to bounce the light. If the sun is directly overhead, attach a lens hood to your camera to prevent flare.
Find a Natural Reflector in Your Surroundings
There are many ways to reflect some gorgeous light back onto your subject and eliminate unwanted shadows.
An obvious way to do this is to use a reflector but sometimes that requires a proper studio setup or an assistant.
If you’re working solo, you can also use the environment around you. Some photographers seek out a light coloured wall to shoot in front of. The wall pushes the light back onto the subject standing opposite and creates a soft glow.
Love these ideas for shooting in bright light? Check out some of our other handy photography tips on the Camera House blog today!
