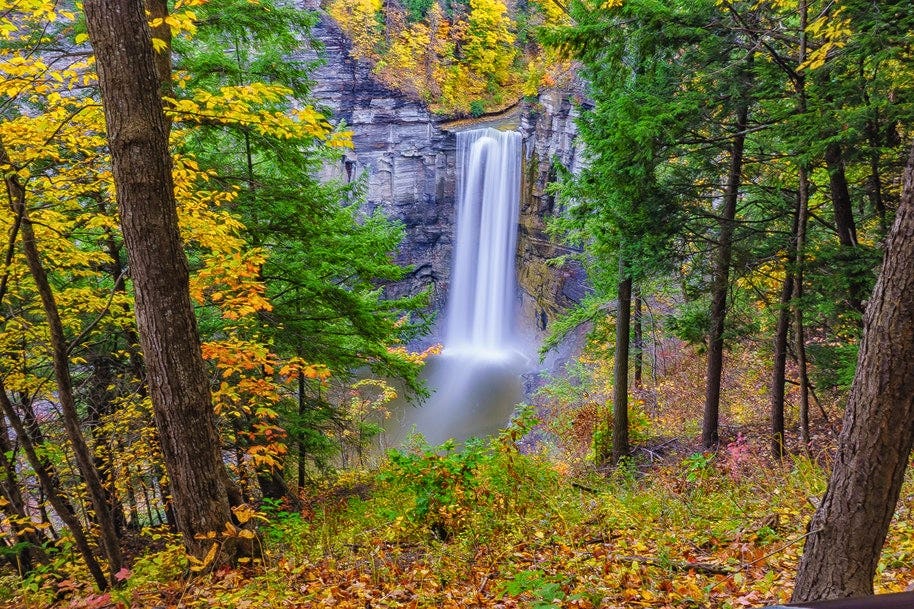
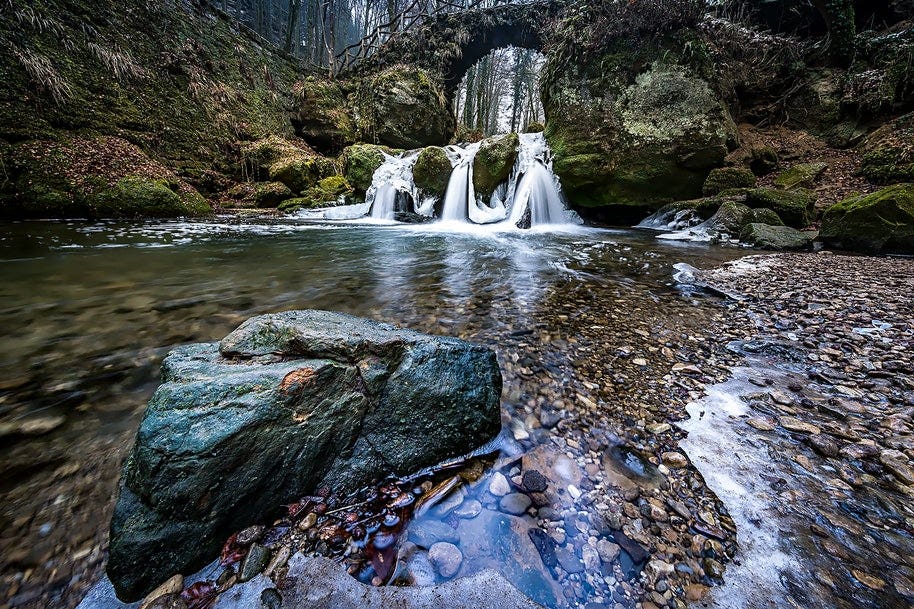
Waterfall photography is often a mark of how far you’ve come as a photographer. When you manage to get the perfect colour balance, smooth water flow, composition, and clarity, it’s a wonderful feeling.
Getting the perfect shot requires practice and patience because it takes time to get to know the waterfall you’re photographing. Factors like the weather, your equipment, and your camera settings can all influence the outcome.
So in this post, we’ve broken down the two most important elements directly within your control - the ideal camera settings to nail your waterfall photography and the equipment that can help you do it.
The ideal camera settings for waterfall photography
To create waterfall photos that stand out, it’s important you understand the inner workings of your camera and the photography concept of the exposure triangle.
Naturally, every waterfall is different but the following settings are a good place to start snapping those falls.
Keep a slow shutter speed
Your shutter speed is the most important setting for waterfall photography, particularly if you want to produce those smooth, milky flowing effects popular in waterfall photography.
To smooth out the water, you need a slow shutter speed to create a long exposure. A faster one will freeze the water, making it look rough or choppy and uninteresting.
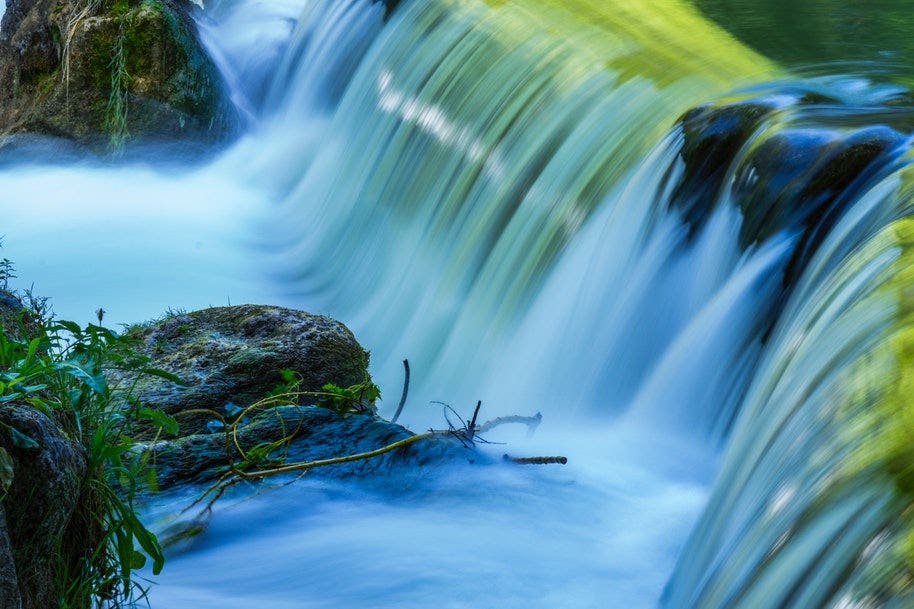
Try starting with a shutter speed of one second and keep adjusting until you’re happy with the outcome. Exposures any longer than 10 seconds aren’t ideal as you’ll lose detail in the water and possibly capture blur in the movement of foliage.
Just remember that a slow shutter speed increases blurring and potential camera shake so a tripod is essential for this style of photography (more on that below).
Set the lowest ISO
When you’re shooting waterfalls, the best ISO setting is the lowest your camera can go - usually about ISO 100.
This setting reduces your camera’s sensitivity to light, letting you select a low shutter speed while maintaining exceptional image quality.
Increase the aperture
The aperture determines just how much light enters through the lens. In the case of waterfalls, you want a narrow aperture to compensate for a slow shutter speed that’s going to let in lots of light.
Settings between f/8 or f/10 are a good place to start but you can go up to f/16 if you need a longer exposure time.
Essential camera equipment for waterfall photography
To capture waterfalls, all you really need is a camera and some walking shoes. But to shoot images that will stop people in your tracks, you might benefit from some special camera equipment.
It goes without saying that a quality DSLR will improve your photos substantially. With waterfall photography, it’s important you have manual control over your settings.
Beyond that, think about investing in a few different lenses to help you capture the shot. A telephoto lens allows you to be far enough away from the waterfalls to capture them in their glory without getting moisture on your lens.
A non-negotiable piece of equipment in waterfall photography is a tripod, which will let you take long exposure photographs to capture silky smooth water.
A tripod will stabilise your camera and ensure you can dial down the shutter speed without getting the corresponding blur.
Getting a long tripod that can extend to about 140-150cm means you can even go into the water to capture the waterfall from a unique angle.
Finally, though not essential, filters can make a world of difference in the quality of your waterfall photos.
A neutral density filter is a dark element you can place over your lens to reduce the amount of light entering the lens in bright conditions.
It’s ideal when you’ve dropped your ISO to its lowest number and increased your aperture to its highest f-stop and your photo is still over-exposed.
When buying a neutral density or ND filter, you will probably encounter variables like ND 0.3. This tells you how much light the filter stops: an ND 0.3 filter blocks one stop of light while an ND 1.8 blocks six.
A polarising filter is another great alternative, blocking light while also reducing reflections and increasing colour saturation so you’ll have more opaque water and vivid scenes.
Ready to capture some stunners?
If you’ve gotten this far, you’re really dedicated to capturing some spectacular shots. Read up on our resident photography expert’s top tips for waterfall photography for more inspiration or get more advice on photographing water.