
Mastering certain components of a photo can dramatically up your photography game. Composition and exposure are two examples which, when done well, will vastly improve your photos.
But another particularly important element is your photo’s white balance. The right white balance gives your photo a natural look. White looks crisply white without any particular yellow or blue tinge (known as a colour cast).
Learning how to use white balance in photography, the difference between certain lighting scenarios (such as tungsten vs fluorescent), and how to set white balance in post-processing will do much to improve your photos.
How does white balance work?
Certain light sources have different temperatures, measured in kelvins (K). Neutral light, which is equivalent to a bright, sunny day, is measured at 5,000 kelvins while a normal incandescent lightbulb in your home may measure 2500-3500K.
Different light sources normally create different temperatures, ranging from cold to warm, or blue to orange. For example, fluorescent lighting has a cold hue while a photo taken at sunset casts a warm tone on your subject.
Correcting white balance is about adjusting the way your camera or photo reads colours to make your shot represent reality as accurately as possible.
How to use white balance
Most cameras have automatic and semi-automatic modes to help you adjust the white balance. These modes correct the white balance back to a Daylight or natural standard.
These modes often cause a lot of confusion when you’re just starting out, as you need to understand a little about different types of lighting.
Auto White Balance
Many cameras are completely capable of making the right adjustments themselves. Auto White Balance allows them to read the scene and select the right white balance for each shot.
Auto White Balance is reliable enough to be used in the majority of cases.
Tungsten
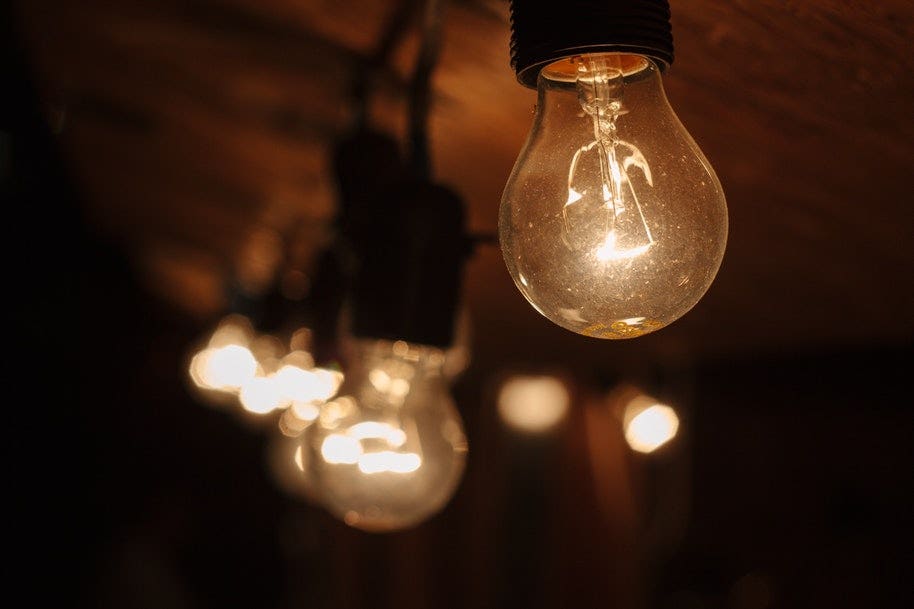
Tungsten - often represented with a little light bulb symbol - is for shooting indoors. It typically cools down photos and is designed specifically for incandescent lighting (such as with a household light bulb).
Fluorescent
Fluorescent lighting is cooler and can add a bluish tinge to your photos. This setting helps warm up your shots.
Daylight/Sunny
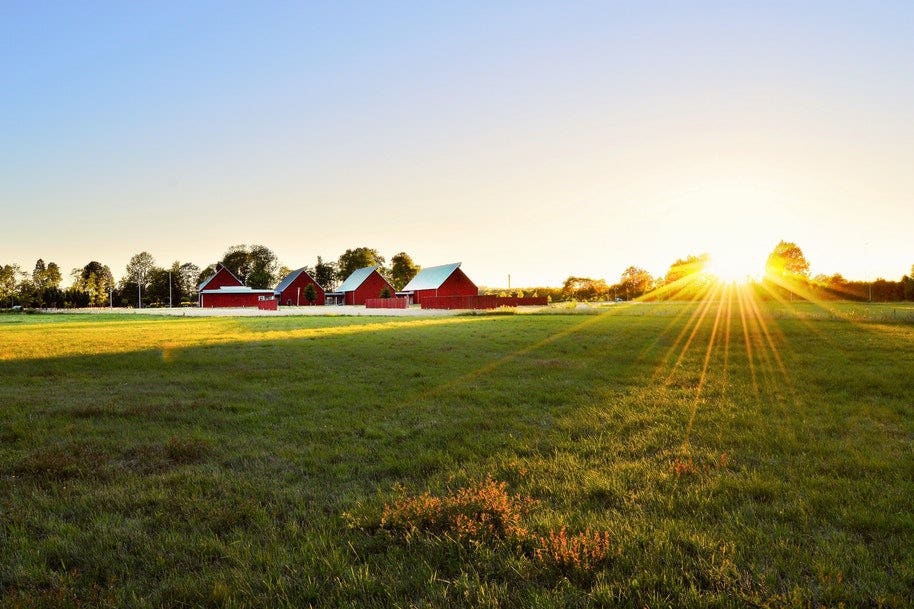
A fairly standard White Balance setting (so common that some cameras don’t even include it), this mode is designed for those beautiful blue-sky days or just “normal” lighting conditions.
Cloudy
For more cloudy or overcast days, the Cloudy setting adds a bit of warmth.
Flash
This mode compensates for the cool light emitted by your camera’s flash. It warms the photo up.
Shade
Shady scenes tends towards a bluer hue, so this white balance setting adds some warmth.
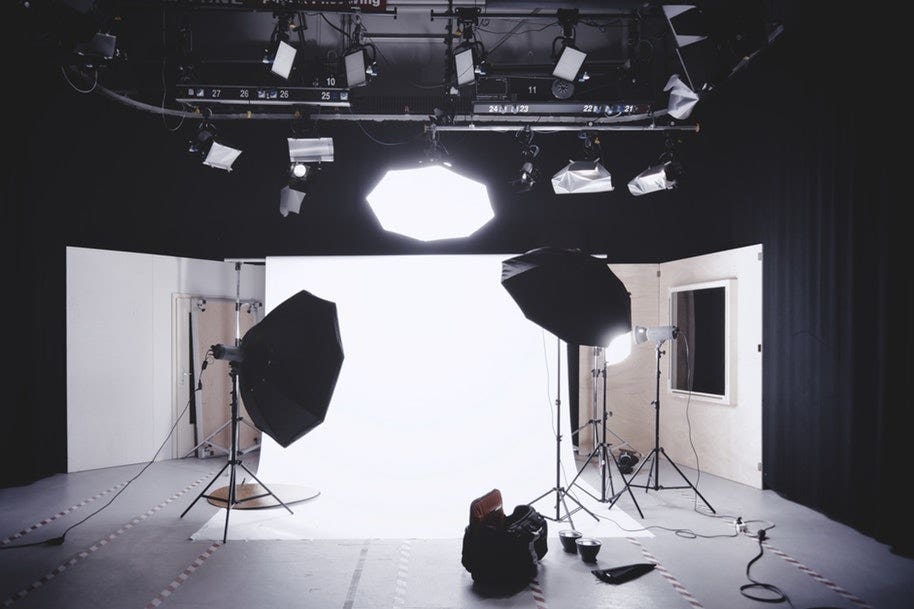
Custom White Balance
For this mode, you can manually set your own white balance using a grey card, which provides a neutral tone that will give you the most accurate colour balance reading.
The following steps outline how to use Custom White Balance mode:
Step 1. Switch your camera to Auto White Balance mode.
Step 2. Place the grey card in front of your subject. It should replicate the light falling on your subject.
Step 3. Using manual focus, get so close to the card that it fills the entire image area.
Step 4. Take a photo.
Step 5. Find the Custom White Balance setting in your camera’s menu and use the card photo to set the Custom White Balance.
Step 6. Select Custom White Balance as your mode to shoot your subject.
Custom White Balance mode is frequently used by professional studio photographers who need the perfect colour reading.
Tungsten light vs fluorescent light

A quick note on tungsten and fluorescent light…
These modes can be the most perplexing for new photographers. But the difference in the light emitted by tungsten vs fluorescent is dramatic, making it important you know which setting to use.
Tungsten is considered a hot light and creates a warmer yellow or orange colour cast while fluorescent light is cooler and creates a blue cast. If you’re indoors at home, it’s most likely you’ll be using the tungsten mode.
Fluorescent mode is more for use when photographing shop fronts or Vegas!
How to set white balance in Lightroom
Thankfully with the advances in technology today, it’s easy to correct white balance if you don’t get the shot right straight off the camera.
Lightroom and most other editing programs have easy fixes to help you adjust your white balance. With Lightroom, the two most common methods are as follows.
Fixing white balance using the eyedropper
The eyedropper can be found in the Basic Develop panel. Once you’ve selected the eyedropper, find a neutral (white, black, or grey) area in your image to click on. The red, green, and blue values should be very close together.
As you move around the image, you’ll get a preview in the Navigator panel of how that white balance will be affected. Once you click your mouse, Lightroom automatically adjusts the photo temperature - often, that’s all you’ll need to do. But you may also want to use the sliders for minor adjustments.
Fixing white balance using the sliders
In your Develop panel, there are two sliders that help you adjust the temperature and tint.
In the temperature slider, sliding to the right warms up the photo (adds more orange) whereas sliding to the left cools it down (adds more blue).
In the tint slider, sliding to the left adds more magenta whereas sliding to the right adds more green.
Are you ready to become a pro?
Learn more about how to make the most of your camera’s settings with our full suite of educational posts on the Camera House blog.
Or if you have any other questions about photography, be sure to visit your local Camera House store, where one of our staff members will happily share their expertise.