Time lapse videos capture the movements of a subject in a unique and captivating way so that viewers can watch storms erupt, flowers bloom, and sunsets happen in just a few seconds or minutes.
Thanks to improvements in technology, everybody can shoot a time lapse video, whether on their smartphone or their DSLR.
We’ve already covered how to create a time lapse video so in this post, we’re going more in-depth to look at how you can level up your time lapses.
1. Prepare for your shoot
Recording a time lapse video requires diligent planning. You need to have some understanding of weather patterns, the weather forecast, the trajectory of the sun, moon or stars, and more.
For this, there are hundreds of good apps available, including (but not limited to):
- The Australian Bureau of Meteorology with weather reports and radar to track the weather in your location.
- Storm provides storm tracks and other weather information.
- NOAA Hi-Def Radar provides information on just about any weather event.
- Google Earth helps when you need potential shooting locations.
- Apps such as PhotoPills, The Photographer’s Ephemeris, or PlanIt! For Photographers all provide useful information for both landscape and astrophotographers.
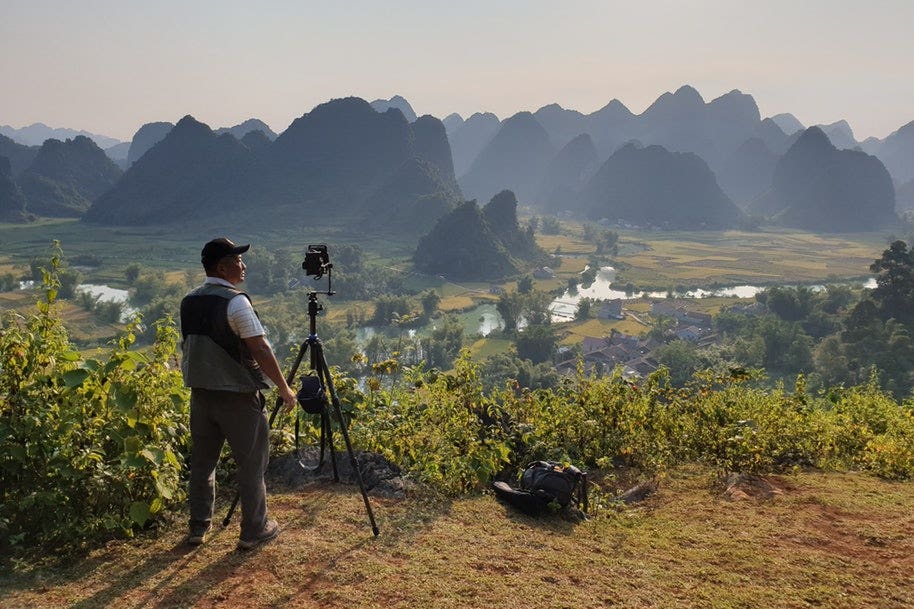
Along with checking the data online, visit your shoot to get to know the landscape or potential subjects and how other elements can be used. Explore the area and consider how you might frame the shot.
Being prepared also means preparing yourself for the shoot. Dress appropriately and bring along water and snacks.
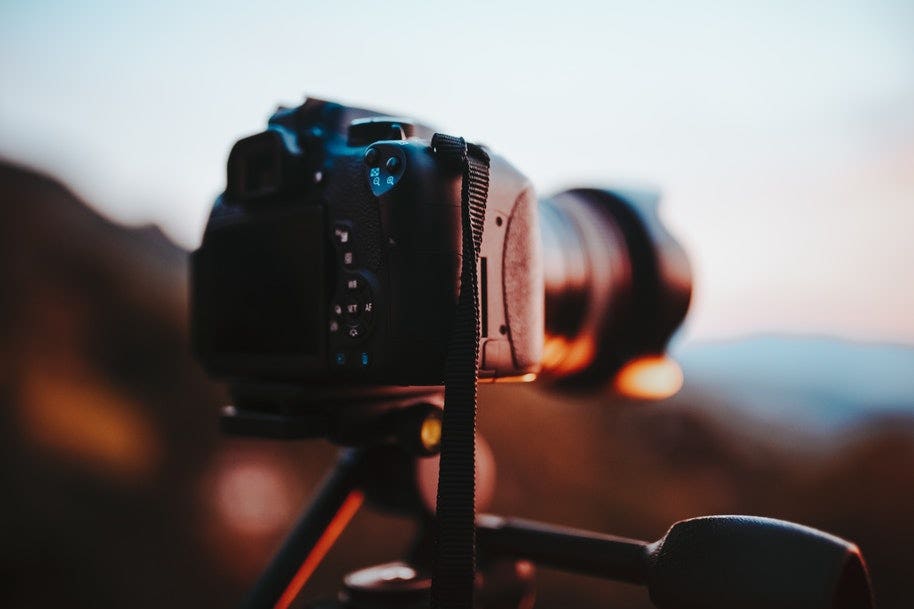
2. Secure your tripod to prevent camera shake
If there’s one thing that’s especially important when setting up your equipment to shoot a time lapse video or photo, it’s to secure the camera. Any camera jolt or shake could ruin the outcome.
Not only should you lock down your tripod, but you should also add additional weights, such as your camera bag or sandbags attached with a carabiner, to keep it secure from wind and other movements.
3. Choose the right lapse interval
Perhaps THE most important aspect of time lapse filming is to determine the right time interval between shots - and thus figure out the speed of the final video. Miscalculate the intervals and your video could look choppy.
The longer the interval, the faster the movement will be. But the interval you pick all depends on the movement of the elements you’re shooting. Fast-moving subjects might need short intervals between shots while slow-moving objects could do with intervals minutes or even hours apart.
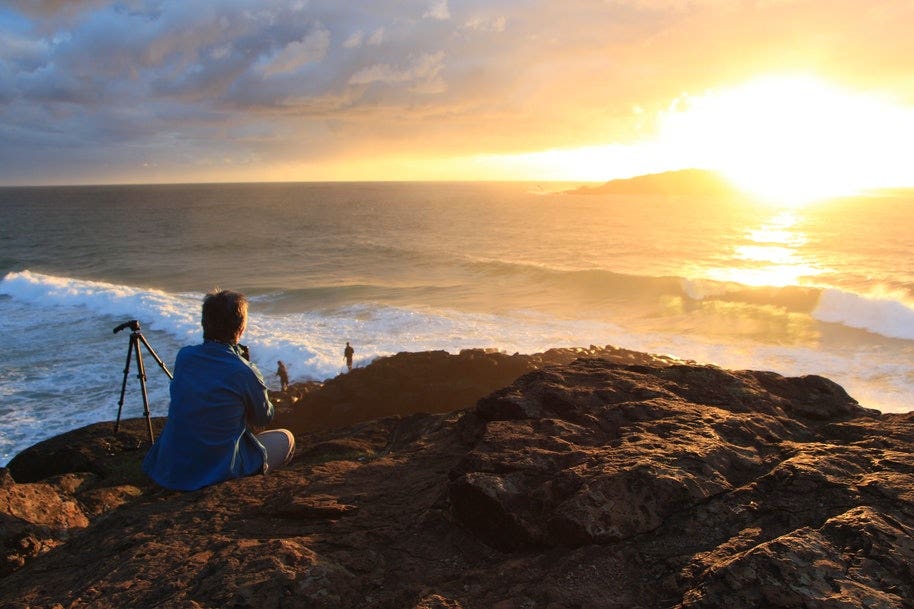
Clouds, for example, move slowly, so an interval of 10 seconds works well. On the other hand, people walking down a street might only need an interval of two seconds. And what about recording a sunset or the passages of the stars? An interval of 30 seconds will be more suitable.
4. Shoot manually to avoid flicker
Flicker is a common unwanted effect in time lapse videos caused by minor differences in exposure between shots. Even the most minute changes between frames are captured.
To avoid flicker, you can try shooting with a manual lens in manual mode. This ensures all settings of the exposure triangle - shutter speed, aperture, and ISO - are locked in so they don’t change between frames. But this only works if the ambient lighting remains the same throughout the shoot.
If you’re shooting at sunrise or sunset, it gets trickier. You’ll need to adjust the exposure throughout the shoot.
Stray light can also leak through the viewfinder and change the exposure so make sure your viewfinder is covered while shooting.
5. Shoot in RAW format
Yes, time lapse recording involves taking tonnes of photos, so it’s going to take up space on your memory card. It’s understandable then that you’d want to shoot JPEGs to save space.
Shooting JPEGs gives the camera control over image processing and throws out a lot of the image data.
But if you shoot in RAW, you’ll give your image a larger dynamic range and more editing possibilities. Essentially, you’ll have far more control over your video in post-production.
Just make sure you have large, fast memory cards that can process images quickly. Look for memory cards with more than 32GB capacity and write speeds of no less than 50MB/s.
6. Keep your batteries fully charged
It seems like a no-brainer but time-lapse photography and videography is demanding on your camera.
Go to your location with fully charged batteries - not just for your camera but for your other accessories, including any external intervalometer, slider, or panning head.
Carry spare batteries as well, along with a portable charger so you can recharge them. Even better, keep a battery grip on your camera so you can use two batteries at the same time. To conserve your batteries even further, turn off Review Image options.
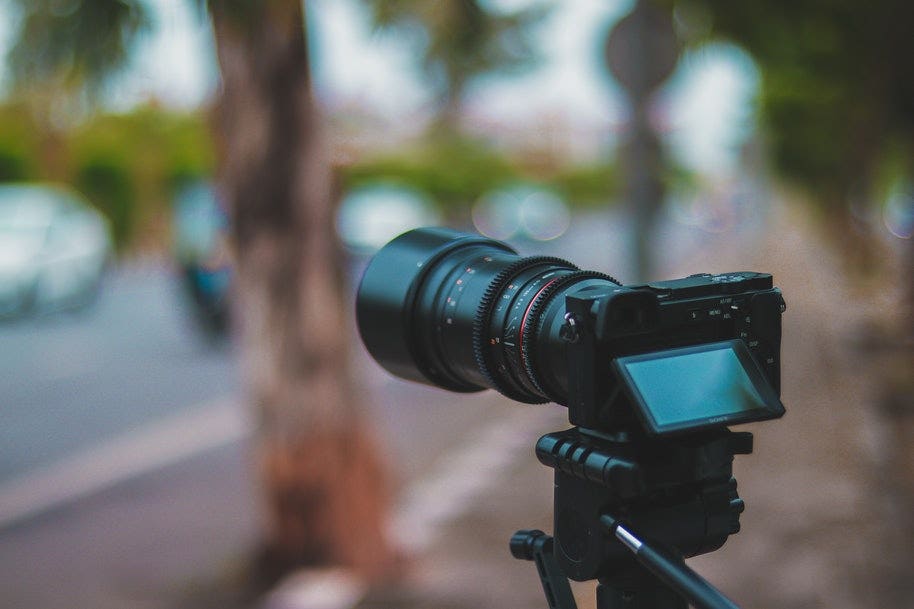
7. Add movement to your time lapse
A time lapse video can have two types of movement. The first is the fast-paced motion of the elements you’re capturing, such as the moving clouds or cars. Your camera can be stationary to capture this kind of movement.
The second movement involves moving the camera itself so that it pans across a scene as it captures the external movement. This type of filming will uplevel your time lapse photography instantly.
To do this, you need to mount your camera to a motorised pan or tilt head, maybe along with a slider.
Are you ready to create time lapse videos?
Get the basics on how to film a time lapse and start getting creative with these time lapse video ideas. We’d love to see the results!
Not got the right equipment? Visit us in-store and we’ll help you prepare for your next time lapse adventure.