In an age of visual storytelling, time-lapse videos are becoming increasingly popular. There’s something dramatic and artistic in the way time-lapse videos depict movement.
Whether you’re watching storm clouds gather, a flower bloom, the sunrise, stars moving across the night sky, or the bustling everyday life of a city, time-lapse videos portray the effect with flare.
In this post, we provide an overview of the time-lapse feature on your camera, the type of equipment you need, and a time-lapse photography tutorial to help you learn the ropes.
What does the time-lapse feature do?
Time-lapse videos speed up time so that you can watch an event that takes minutes, hours, or days occur in just a matter of seconds.
With time-lapse photography, you combine multiple individual images at a specific frequency to depict movement around you.
How does time-lapse videography work?
To understand how time lapses work, you need to know the basics of videography. In essence, videos are comprised of a sequence of individual images played in succession as a particular frame rate.
This frame rate is typically between 24 and 30 frames per second. To put that into perspective, just 10 seconds of footage comprises about 240-300 single images.
In a time lapse, you reduce the frequency of the frame rate, which gives a sense of time and fast motion when played back in a sequence.
Equipment for time-lapses

While time-lapse photography often comes down to the photographer or videographer, you’ll certainly get further with the right equipment.
Naturally, the best results come from having a DSLR, a mirrorless camera, or a dedicated time-lapse camera, all of which allow you to play with your settings to produce the best results.
Other important time-lapse photography equipment includes:
- A sturdy tripod - to keep your camera still. Even better, it should be weighed down with something heavy, such as a sandbag.
- An intervalometer or remote control for your specific camera model - this helps you adjust certain camera settings, set the time interval, and set the shutter release.
- A polarising ND filter - to reduce the intensity of any light without affecting its colour.
- A c-stand or a light stand with a shade above your camera to protect it from lens flare and keep the camera cool.
- Spare memory cards
- Spare batteries
How to shoot a time-lapse video

Unless you’re using the simple mode on your smartphone, time-lapse photography demands skill and practice (even on a smartphone, you need to have some understanding of time lapses to get the best results).
Step 1 - Plan the shoot
As with any form of photography or videography, time-lapse photography planning. You need to check weather forecasts and know the cardinal directions.
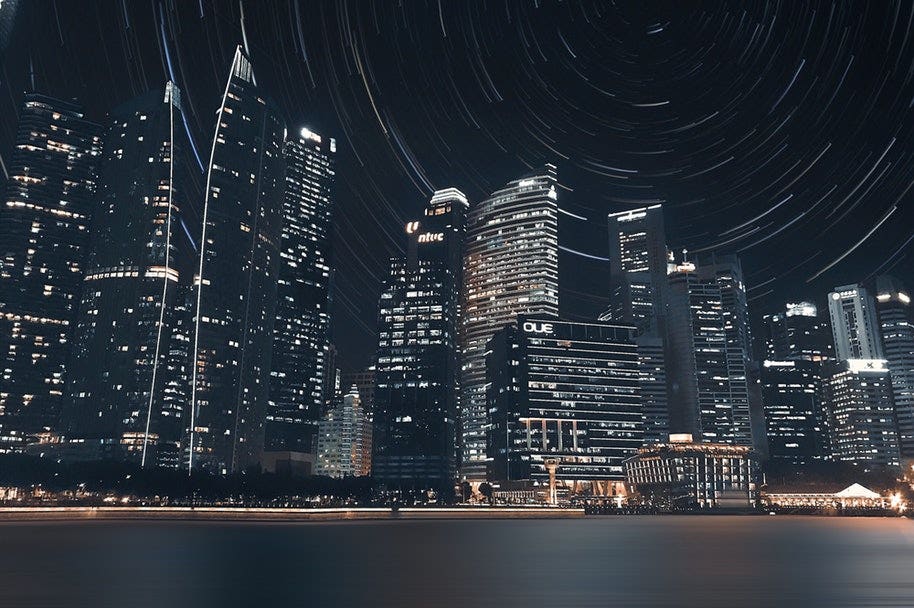
The most interesting results happen when you choose a scene that evolves over time, such as during a sunrise or along a busy road.
Step 2 - Apply the standard photography rules
The same standard photography rules, such as composition, apply to time-lapse photography. Set up your shot on your tripod until you’re satisfied.
Step 3 - Select the time-lapse mode
Many cameras these days come with a time-lapse mode, often also called animation. If you don’t have this mode, you may need to buy an intervalometer designed for your specific camera.
Step 4 - Choose the right settings
If you’re confident enough, use the manual mode on your camera to get the right exposure. Aperture Priority modes tend to cause distracting flickering in your video.
File size - Don’t forget that the size of a time-lapse file can be fairly large. Without adequate planning, your scene may be cut short before the climax.
Record in the highest resolution RAW file, if you can. This allows you to work non-destructively during post-production, while also giving you the ability to crop, pan, tilt, or zoom.
Timing intervals - How long do you want the interval between each frame to be? This depends on how quickly your subjects in a scene are moving. For cars, an interval of 2-3 seconds might be fine. For slow-moving stars, you could change the interval to 30 seconds.
Video length - How long do you want your camera to be running for? This will determine how much battery you’ll use and how much room you need on a memory card.
Don’t forget, a single second of video requires 24-25 stills, so a 20-second video means you’ll need about 500 shots. The more stills you have, more room you have for editing.
Step 5 - Press the shutter and step back
Once you’ve pressed record, you don’t want your camera to move in the slightest. Step back and let it do its job.
Are you ready to give it a try?
Time-lapse videos demand plenty of patience and a tonne of practice, but once you’ve understood the gist of it, the results can be incredibly rewarding.
Visit one of our stores to ask our experienced staff their tips on time lapse photography or browse for the best equipment for your shoot today.