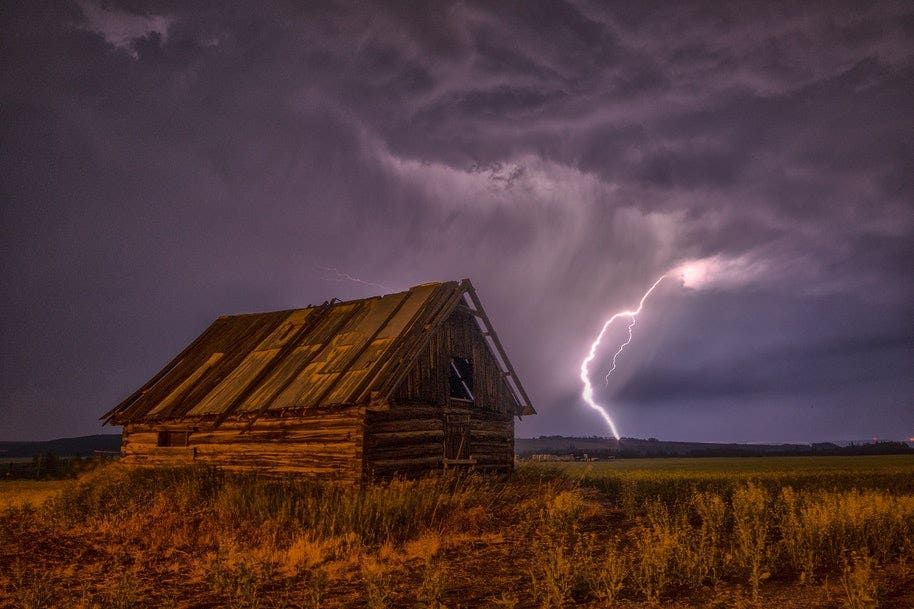
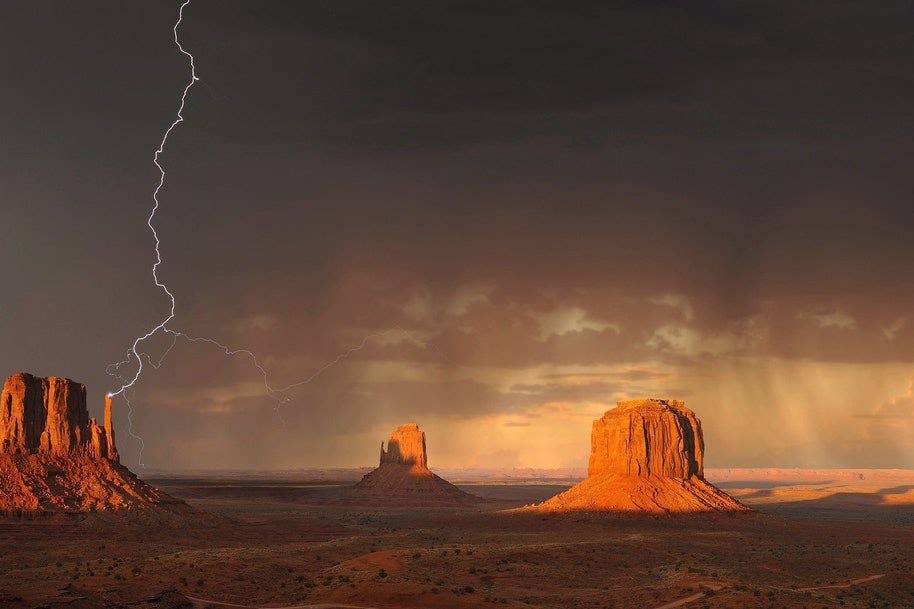
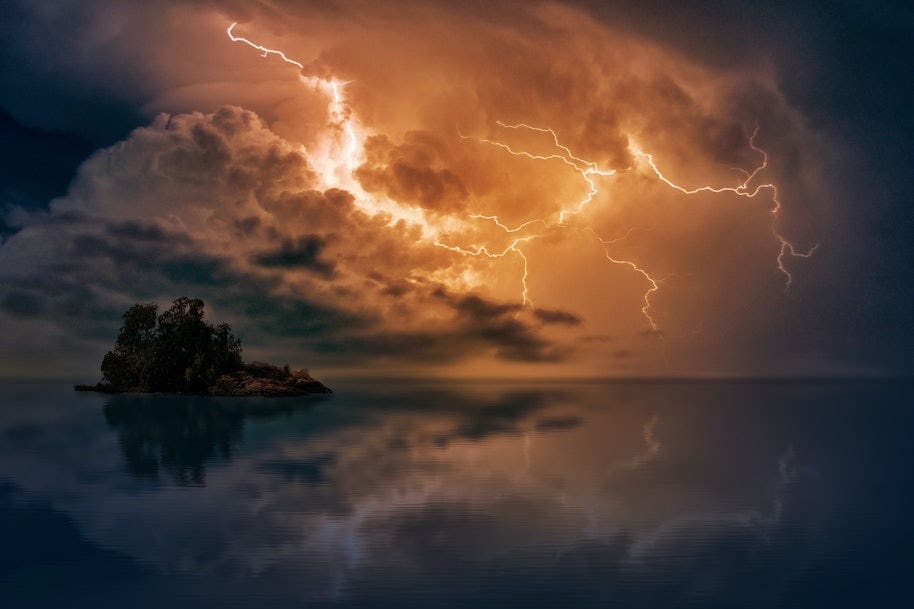
There’s something incredibly evocative about lightning photography. And the act of taking pictures of lightning can be thrilling.
But the real joy hits once you’ve grasped the settings and know exactly how to photograph lightning. Then you can enjoy the storm and reap the benefits of your knowledge when you review the stunning photos afterwards.
Whether you’re photographing lightning during the day or at night, it’s important to remember that this kind of activity is dangerous. Always stand well clear of water, tall trees, or open areas. Even better, shoot inside a building or car if possible.
But if you’re ready to take the plunge, read on to find out the right equipment you’ll need and the best settings for lightning photography.
The right equipment for lightning photography
At a minimum, you’ll need…
- A tripod
- A DSLR (or any camera that can shoot long exposures)
- A remote trigger (or an intervalometer)
- Rain protection for your camera
- A weather radar app on your smartphone
A DSLR
It is possible to photograph lightning storms with a digital compact camera or even your smartphone. But you’ll probably produce much more impacting photos if you have a camera (like a DSLR or mirrorless camera) that allows you to manually control your settings, such as your shutter speed, aperture, and focus.
A tripod

Having a tripod ensures your camera remains still so you can take long exposures without capturing motion. Since you’ll likely be photographing in wild conditions, it’s better to invest in a heavy tripod.
Shop solid, sturdy tripods online today.
A remote trigger or intervalometer
A remote trigger or any cable release ensures you capture the shot without jolting the camera when you press the shutter button. Wireless triggers add a bit of luxury in a storm since it means you can set up the camera outside and then capture images from the comfort and safety of your car interior.
The best camera settings for lightning photography
It’s hard to pinpoint specific settings for lightning photography since a lot depends on the circumstances around your shoot.
Are you shooting in the pitch dark, around city lights, or in daylight? Is the lightning close to you or further away? Are there foreground elements you want to capture?

We’ve provided some general recommendations for settings below but once you’ve captured your first shot, it’s best to review the photo and make sure the lightning bolt is sharp and the exposure just right. Then adjust any necessary settings for the next shot.
Shutter speed
Most people assume you need a fast shutter speed to capture lightning but in fact the opposite is true.
To capture lightning as it happens (instead of gambling on your reflexes when you see the flash), it works to lengthen the exposure time with a long shutter speed.
Photographers often use a long exposure of between 5 and 30 seconds but of course, it’s essential to have a camera that produces low noise for this to work.
The longer the shutter speed, the more lit up your foreground will be so also try experimenting with shorter shutter speeds of between 1 and 3 seconds to keep the foreground darker.
Focus
It’s essential to use manual focus when photographing lightning (especially if you’re photographing at night) since many camera autofocus systems can’t focus in the dark.
Set your focus on infinity but make sure the camera lens doesn’t focus beyond infinity. If you can, switch to the live view setting on your camera, use the LCD screen to zoom in on a distant light source (even the moon works) and turn the focus ring until that light is crisp.
Aperture
The aperture you use can often depend on a variety of different factors, particularly when and where you shoot.
Most lightning photography benefits from a wide aperture and a shallow depth of field. But the wider your aperture is, the harder it will be to focus.
If you’re trying to photograph lightning at night and away from lights, try starting with an aperture of f/5.6 and check the image afterwards. If the image is too overexposed, stop down the lens to f/8 or even smaller.
If it’s dark but you’re photographing lightning over a city, narrower apertures are often more reliable in capturing both the city lights and the lightning. Consider using f/10 to f/16.
If you’re trying to photograph lightning in daylight, try stopping down to f/16 or f/22.
ISO
To avoid taking grainy photographs, try to set your camera to base ISO - that is, the lowest possible value on your camera. This could be anywhere between 64 and 200.
RAW
A trick to lightning photography is ensuring there is some texture in the foreground so the image has more depth. Shooting your images as RAW files rather than jpegs enables you to recover foreground details much better in post-production.
How to photograph lightning at night or during the day
Based on the settings we recommend above, here’s our cheat sheet for photographing photography:
Step 1. Set up your camera on a tripod
Step 2. Attach an intervalometer or remote shutter to reduce camera shake.
Step 3. Turn off image stabilisation as it can lead to a softer image.
Step 4. Focus your lens to infinity.
Step 5. Take a photo with lightning in it and check the result to make sure the settings are right.
Step 6. If you have an intervalometer, lock it down so the camera continuously shoots.
Ready to photograph lightning?
Now you understand how to photograph lightning, there’s nothing left but to get out there! As with all photography - but even more importantly with lightning photography - practice makes perfect.
Of course, equipment helps you skill up faster. Shop our selection of remote triggers online today and relish taking the best storm shots from the comfort of your car!