
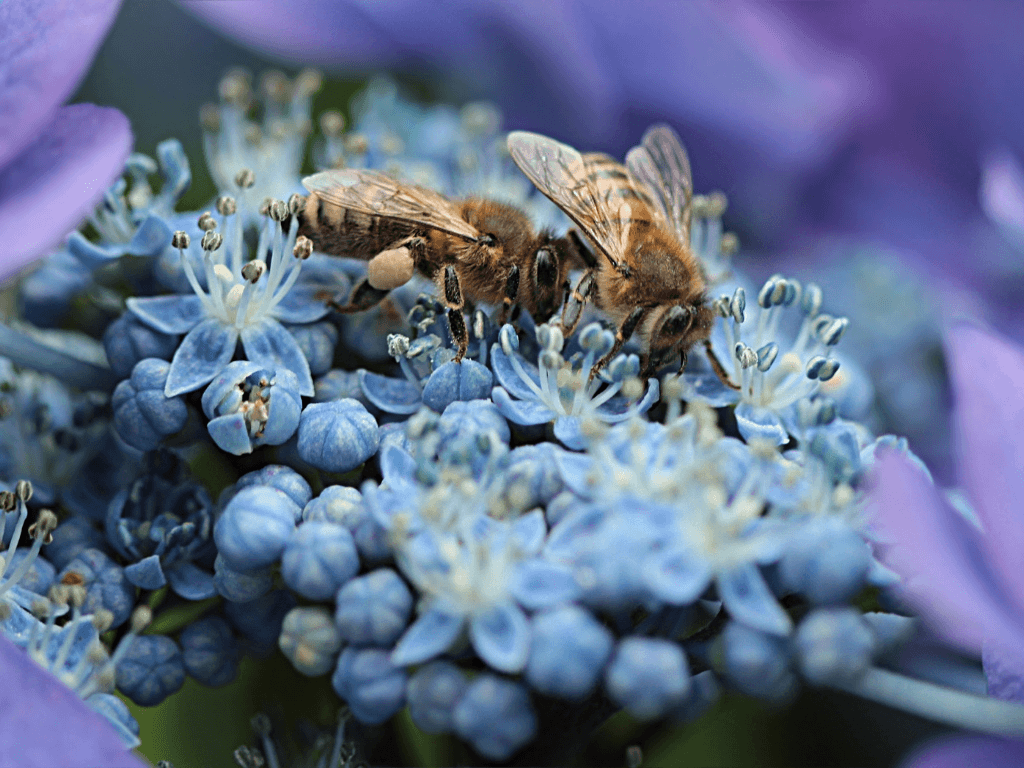
Ever looked closely at a flower, insect or everyday object and thought, “How did I never notice that?” That’s where macro photography gets seriously fun.
Macro photography lets you turn tiny details into the main event, from the texture of a leaf to the patterns on a butterfly’s wings. And you don’t need to be a pro to start. With a few simple settings and some experimenting, you can start capturing your own miniature world.
Here are five easy things to try on your first macro shoot.
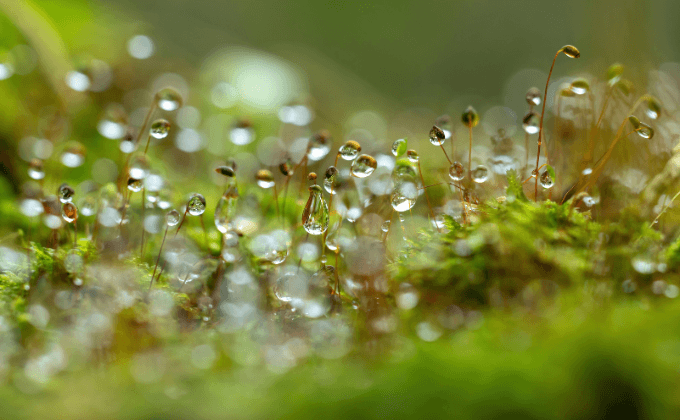
Find your sharp spot
One of the trickiest things about macro photography is getting the right part of your subject in focus.
When you’re shooting really close, your depth of field becomes super shallow. That means even a tiny change in your camera position can move your subject in or out of focus.
Try this:
- Set your focus mode to AF-S / One-Shot AF
- Choose Single-Point Autofocus
- Place your focus point over the most important detail
- Take the shot
- Zoom in on your camera screen and check your focus.
If your camera has focus magnification or focus peaking, use them to see exactly where your focus is landing.
As you gain confidence, try manual focus. Many macro photographers gently move the camera forwards and backwards to fine-tune focus rather than relying entirely on autofocus
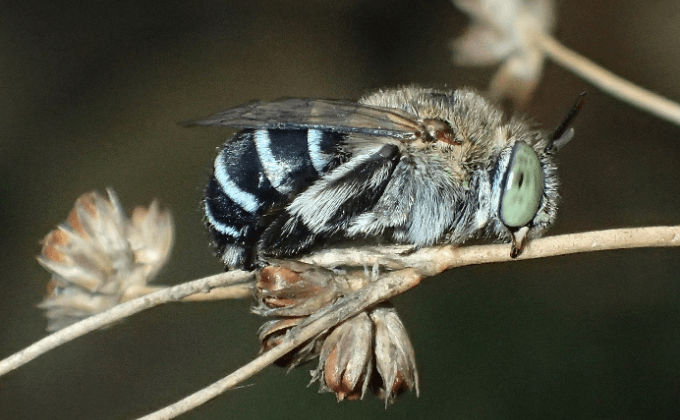
Quick tip: Photographing an insect? Aim for the eye closest to your camera. Shooting a flower? Try the centre, petals, pollen or an interesting texture.
And don't stress if you miss focus on a few shots. Macro photography is all about getting those tiny details just right.
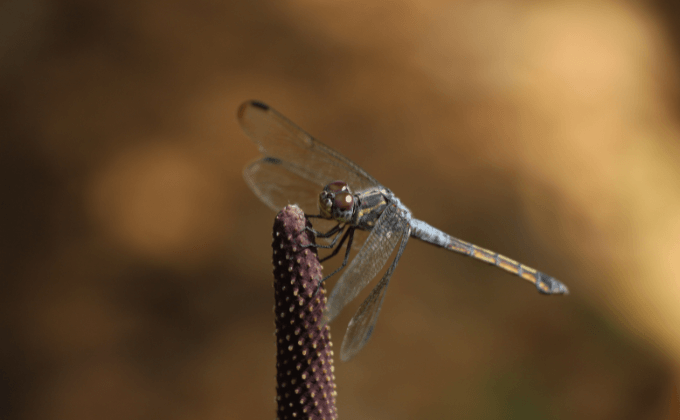
Blur it or show it?
Want that dreamy, blurry background? Your aperture is your best friend.
But while shooting wide open at f/2.8 can give you beautiful background blur, it can also mean only a tiny part of your subject is actually sharp.
For your first macro photos, try starting at f/5.6 to f/8.
Your aperture cheat sheet:
- f/2.8–f/4 → More background blur + very shallow focus.
- f/5.6–f/8 → A great starting point for macro.
- f/11-f/16 → More of your subject can be sharp, but diffraction may begin reducing fine detail depending on your camera and lens.
Try this experiment:
Photograph the same subject at:
- f/5.6
- f/8
- f/11
Then zoom in and compare the results.
You'll quickly see how changing your aperture changes the look of your photo.
Pro tip: Don’t assume you always want the smallest aperture. Sometimes a little blur can make your subject stand out and give your image a much more creative feel.
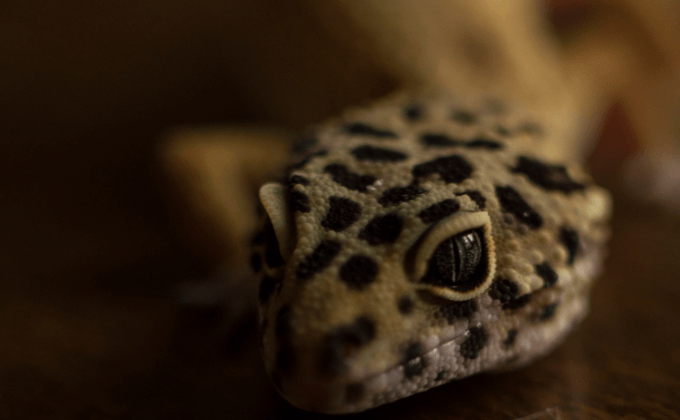
When tiny moves become big problems
When you get really close to a subject, tiny movements become a big deal.
A small movement of your hands can make your photo blurry. So can a breeze moving a flower, or an insect deciding to fly away just as you press the shutter!
If you're shooting handheld, start around 1/250 sec.
Photographing something that won't sit still? Go faster.
Try these settings:
- Handheld: 1/250 sec or faster
- Moving insects: 1/500 sec or faster
- Using a tripod: You can experiment with slower shutter speeds
- ISO: Auto ISO is a great starting point
If your photo is too dark, don't be afraid to increase your ISO to keep your shutter speed fast enough.
Remember: A little image noise is usually much better than a blurry photo.
Good light = great macro
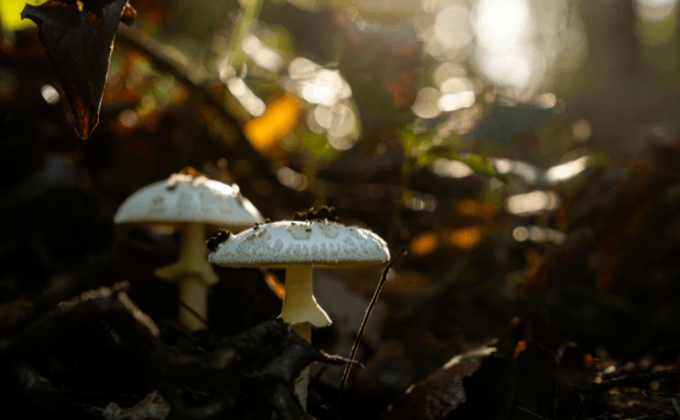
You can have the perfect focus and settings, but great light can take your macro photo to the next level.
Harsh midday sunlight can create strong shadows and blown-out highlights. Softer light can reveal more of those tiny textures and colours.
Try shooting:
- Early morning - soft light and often less wind
- Late afternoon - warm, directional light
- Overcast days - soft, even lighting
- Near a window - perfect for experimenting indoors
A simple starting setup:
- ISO: 100 - 400 in good light
- Aperture: f/5.6–f/8
- Shutter speed: Around 1/250 sec handheld
- White balance: Auto
Try this: Don’t just stand in one spot. Move around your subject and see how the light changes. Shooting from the side, behind or slightly below can create completely different results.
Move your feet, not just your zoom
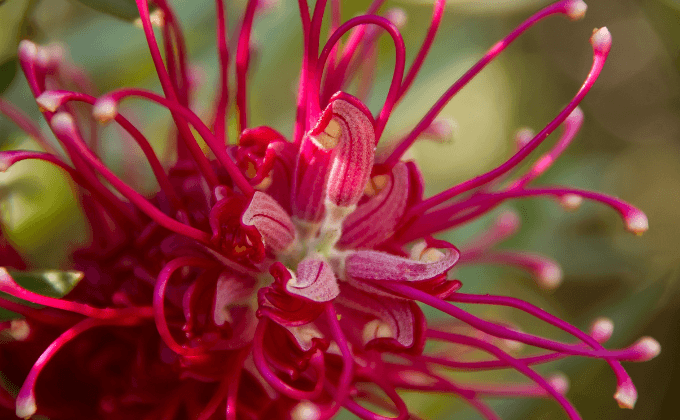
Here's something to remember: macro photography isn't just about getting as close as possible.
Your angle, background and composition can completely change the photo.
Find a simple subject - a flower is a great place to start - and spend a few minutes exploring it before you start shooting.
Try this mini macro challenge:
Find something interesting.
Flowers, leaves, insects, shells, food and everyday objects can all work.
Walk around it.
Try shooting from above, below and from the side.
Check your background.
Look for distracting colours or objects.
- Set your aperture to f/8.
- Aim for 1/250 sec or faster.
- Set ISO to Auto.
- Choose Single-Point AF.
- Focus on your key detail.
Take the shot and zoom in.
Is it actually sharp?
Change something and shoot again.
Move closer. Move further away. Change your angle. Try f/11. Try a faster shutter speed.
You might find that your favourite image isn't the one you expected.
Now go find something tiny
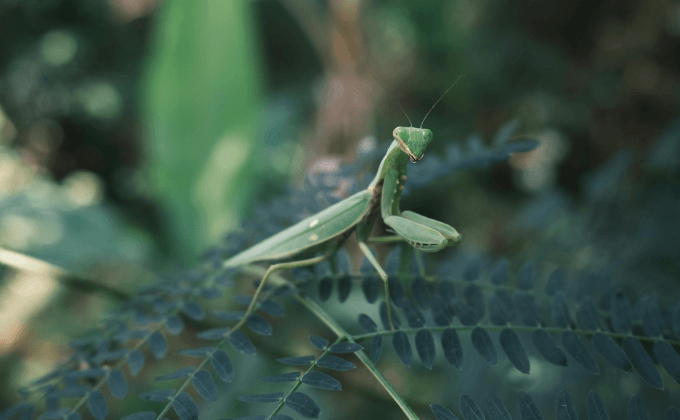
The best thing about macro photography? You don't need to travel somewhere spectacular to find a great subject.
Your backyard, local park, garden, or even your kitchen, could be full of tiny details waiting to be photographed.
So grab your camera, get curious and start looking a little closer. The smaller the subject, the bigger the creative possibilities.
Shop Gear for Macro Photography at Camera House
Seek advice from Camera House’s knowledgeable staff in-store and online to find the macro photography equipment that’s right for you! Check out our shipping information online and enjoy free regular delivery on orders over $99, or view our store locator to visit a Camera House store near you.
Browse the full Macro Collection


