While it’s become far more accessible thanks to improvements in digital camera tech, macro photography still requires a particular skill set and special equipment if you want to capture the finest detail of the tiniest subjects.
Yet mastering the art is hugely rewarding, helping you create captivating snapshots of the microscopic world around us - and truly wowing your family and friends in the process.

Want to invest in macro photography? This article is packed with everything you need to know about the craft, including what macro photography even is, the equipment you’ll need, and how to do macro photography.
What is macro photography (and how is it different to close-up photography)?
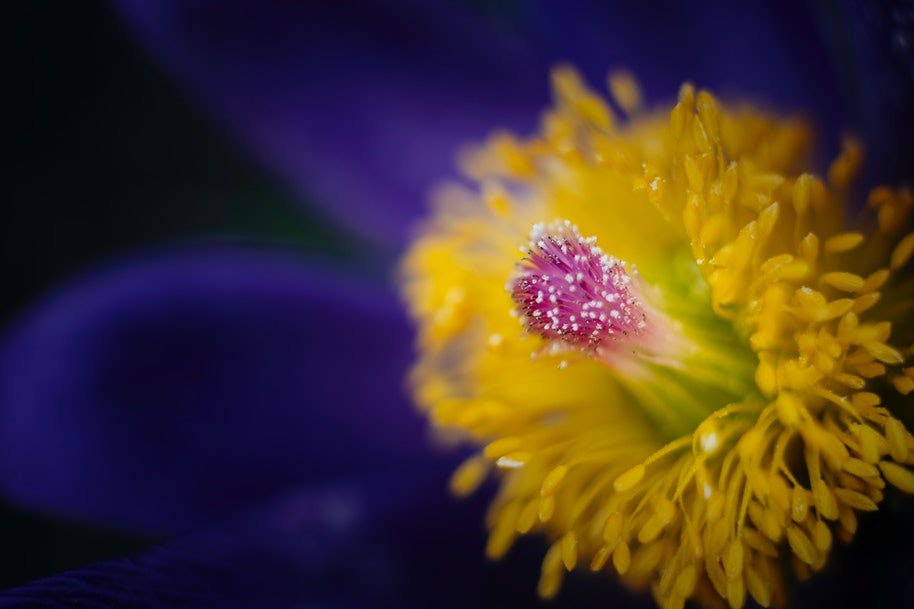
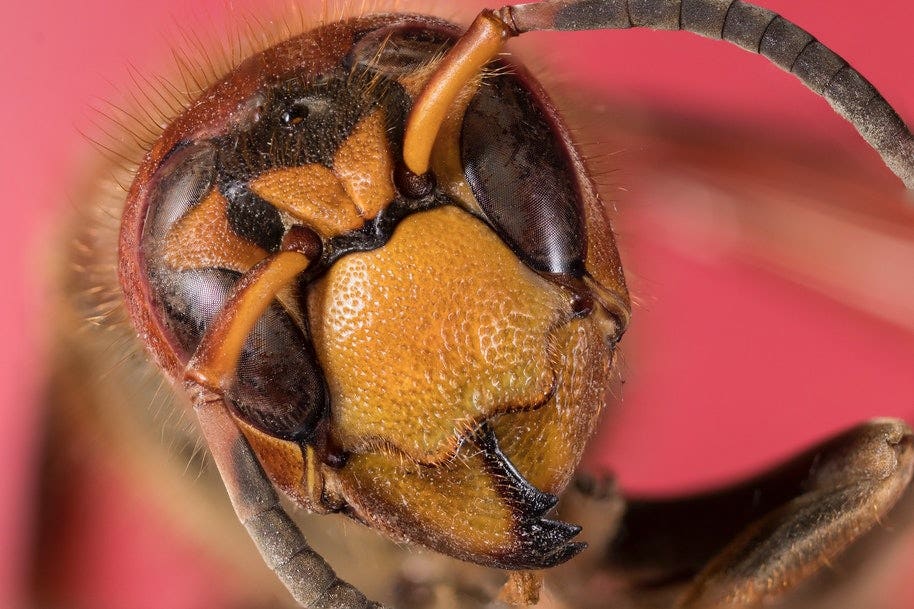
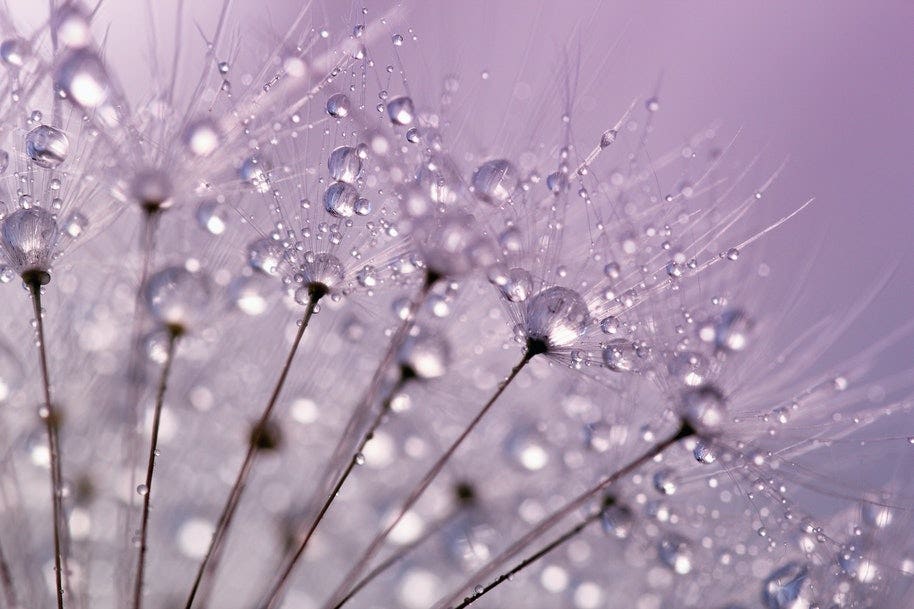
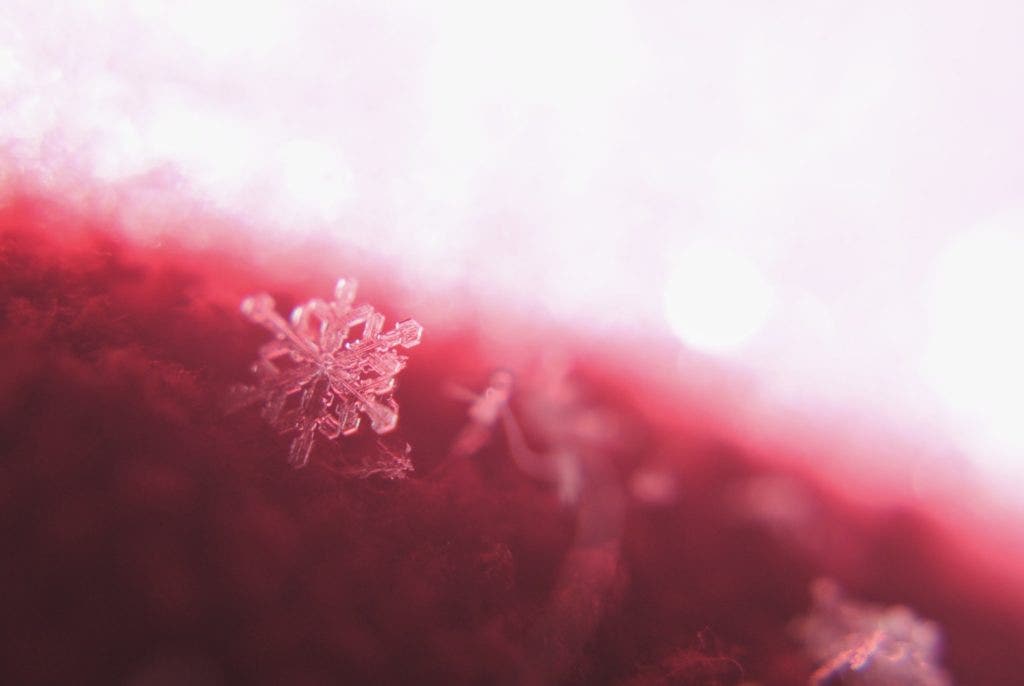
Macro photography involves taking enlarged images of small subjects, such as bugs or raindrops, and representing them in fine detail.
Technically, there's a difference between macro photography and close-up photography in that macro photography is done with a dedicated macro lens which can capture far more detail than a standard lens.
For a photo to be officially classified as macro photography, your tiny subject needs to be magnified to ‘life size’ or greater. Magnification in this sense refers to how large your subject appears on your image sensor compared to in real life. Life size, for example, is a magnification of 1:1 while half-life size is 1:2.

Macro photography and micro photography are the same thing; they just refer to different aspects of the process. Macro photography refers to the enlarged image while micro photography refers to the microscopic subject.
How do I take macro photos?
While anybody can do macro photography using the automatic Macro mode on their camera, it takes great skill and patience to produce pro-level quality.
Sure, activating the automatic Macro mode on a camera means you can start taking macro snaps instantly but there’s more to it if you want superior quality.
Step 1: Position yourself at least 15cm away from your subject if possible. Any closer and you might distort the subject or get camera shadow over the shot.
Step 2: Give your camera greater stability by fixing it to a tripod, preferably with a remote shutter release. With magnification, the slightest blur can look extreme in the final image.
Step 3: Switch your camera settings and focus to manual. Select a small aperture so you get a beautiful depth of field. You’ll have to up your ISO and shutter speed to compensate.
Getting the lighting right with macro photography is always tricky so this is a scenario when using a flash is perfectly fine. If you can, use a diffuser so the light comes out soft and natural.
What equipment do I need for macro photography?

A quality camera
These days, any camera can do macro photography - yes, even a simple point-and-shoot camera. But of course, some cameras are more powerful than others.
Almost every camera - even a DSLR - has a Macro mode that will enable an automatic macro photography setting. Naturally, though it’s convenient to have this mode, it won’t produce the same results - the same precise detail, high quality, or level of magnification - as a dedicated camera and macro lens.
Cameras with interchangeable lenses such as DSLRs and mirrorless cameras are best for high-quality macro photography, especially if you buy a dedicated macro lens.
A high-quality macro lens
Macro lenses are highly specialised, with features that produce incomparable macro photographs.
To start, most have a flat field lens, which means they don’t have the curvature that standard lenses have. That curve distorts the edges of the image, which doesn’t look good at all in macro photography when every distortion is hugely magnified.
Most importantly, these sophisticated lenses can produce a magnification of at least 1:1, if not much higher. Some can produce an image five times the size of the subject (a magnification factor of 5:1).
It’s important to note that macro lenses are prime lenses, meaning they have a fixed focal length. So you'll need to choose a length to suit your style of macro photography.
If you plan to photograph generally static subjects, like plants or flowers, a 50mm or 60mm focal length is perfect. But if you want to capture a skittish insect, go for a 100mm macro lens so you can keep a greater distance between you and the subject.
Accessories to alter your standard lens for macro photography
If you’d rather save on the macro lens for now, there are a few ways you can get around having such dedicated equipment.

Extension tubes or lens extenders
One option is to invest in an extension tube, which is a hollow, cylindrical tube you can attach between the lens and the camera mount to move the back of the lens further from the sensor and closer to your subject.
This means you can decrease your minimum focusing length, get closer to your subject, and produce greater magnification.
Close-up filters
Like all lens filters, a close-up filter screws onto your lens and acts much like a standard magnifying glass would.
Close-up filters used a curved glass to make objects appear bigger than they are, but they only work if you’re really close to your subject. And unlike macro lenses, the results will be softer.
Reverse ring
Similar to an extension tube or a close-up filter, a reverse lens ring alters the way a standard lens works. In this case, the metal ring enables you to attach your lens backwards so you can get a higher magnification factor.
Keep in mind that because the lens is fixed backwards, you can’t use the settings automatically as you normally would - you’ll need to manually control aperture and focus settings.
Keen to get more into macro photography?
At Camera House, we have a full range of equipment to help you improve your macro photography game. Visit us in-store to discuss your needs with one of our staff members or browse our selection of lenses and lens accessories online today.
Additionally, check out your comprehensive video on lifting your game and mastering macro photography:
