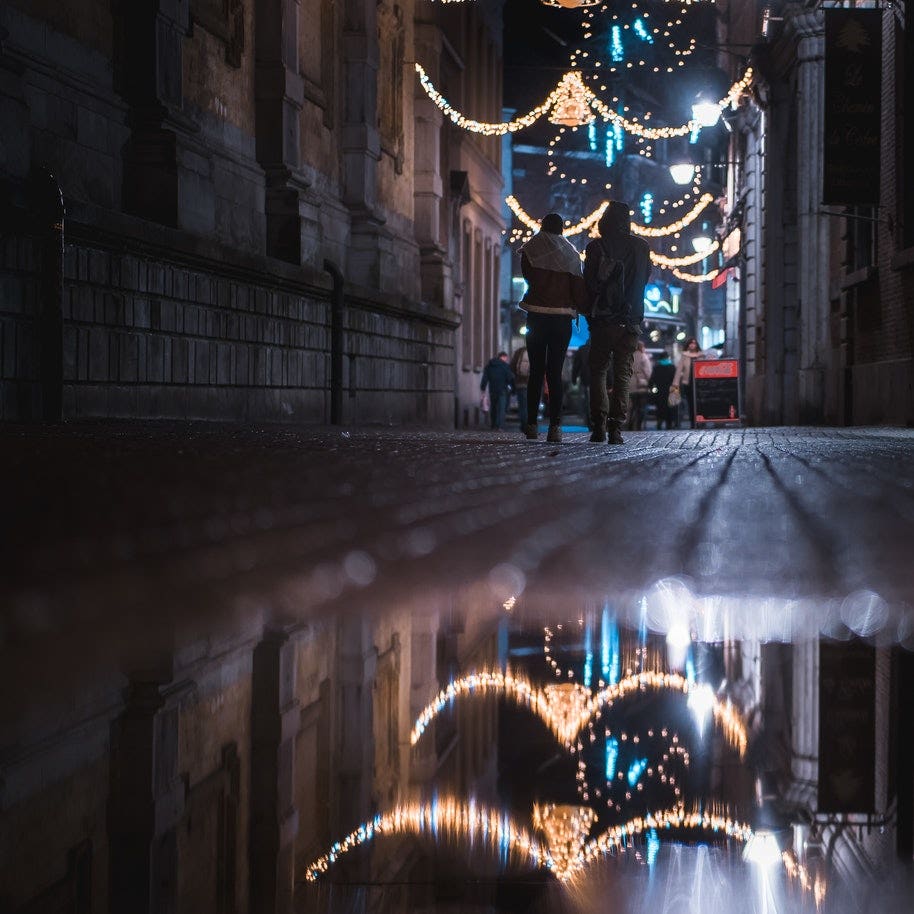
Christmas lights create wonderfully evocative scenes for photography, whether they are the main subject or the background for festive portrait photography.
But they’re not easy to shoot, especially in low light situations. Having a DSLR helps you capture the essence of Christmas lights, but there are still certain settings that will help you perfect the shot.
The best camera settings for Christmas light photography
To capture the Christmas lights in all their glory, you’ll want to wait until nightfall. That’s when that festive sparkle will stand out against a darker backdrop.
But of course, shooting in such low light situations demands specific camera settings to capture those Christmas lights perfectly.
In this situation, the three most important camera settings, commonly called the exposure triangle, determine how much light is let into the camera. These are ISO, aperture, and shutter speed.
Adjust ISO for brightness
It’s tempting to bump up the ISO in dark situations so you can raise your shutter speed - but this inevitably creates grainy unflattering images.
Try to keep your ISO as low as possible. A good start is to test a photo at about 200 ISO and increase it only if the images turn out too dark.
Before raising your ISO too high, it’s best to explore alternative options, such as decreasing the shutter speed or widening the aperture. Shooting with a tripod will give you greater flexibility with your camera settings.
Try wider apertures
The aperture setting determines how much light enters your camera, so the wider it is, the more light it will let in.
A good starting point is to have an aperture of around f/8. This setting also creates the perfect mix of image sharpness and background blur if you’re shooting portraits with Christmas light backgrounds.
Go for slow shutter speeds
A slow shutter speed means your camera is exposed to the light for a longer amount of time. Keeping your shutter speed low allows you to keep your ISO low and create an image of higher quality.
But of course, the slower your shutter speed, the more sensitive your camera will be to movement so it’s almost a requirement to have a tripod for the shoot.
Experiment with a shutter speed between 1/8 and 1/125 to see what works best for your shot.
Another reason why slow shutter speeds are good is that LED Christmas lights flicker in a way that the naked eye doesn’t capture but a good DSLR camera does.
This means you might not capture every Christmas light in a chain - unless you have a slow shutter speed that will capture the scene for a longer amount of time, ensuring every light features.
Extra creative tips for Christmas light photography
Shoot at the end of the day
In the pitch black of night, you might have trouble bringing out the other elements in a scene aside from the lights. The result is that it looks like the lights are just floating in an empty void. This creates quite a flat image.
To bring a more 3D effect and interest into your frame, try shooting around twilight or dusk, when you can capture the warm glow of Christmas lights while ambient lighting still illuminates the house, trees, and other elements they’re strung from.

To make the most of the lighting, be ready to shoot from sunset until about 30 minutes after sunset. In this light, you’ll be able to capture Blue Hour, when the sky is an almost electric shade of blue. You’ll only have a short time frame for this so the key is to be prepared and have your shot already set up.
Skip the flash
An artificial flash washes out the vibrant, warm colours of Christmas lights while also revealing unwanted elements, such as cords and wires.
Eliminate the flash and try to adjust your camera settings instead to get the photo right. If an additional light source is needed, opt for natural lighting, such as an open window or a lamp.
Opt for incandescent or tungsten white balance
Capture the warm glow of Christmas lights by changing your DSLR’s white balance settings from Auto to Tungsten or Incandescent.
The Tungsten white balance setting will remove yellow or green tinges created with an automatic white balance setting.
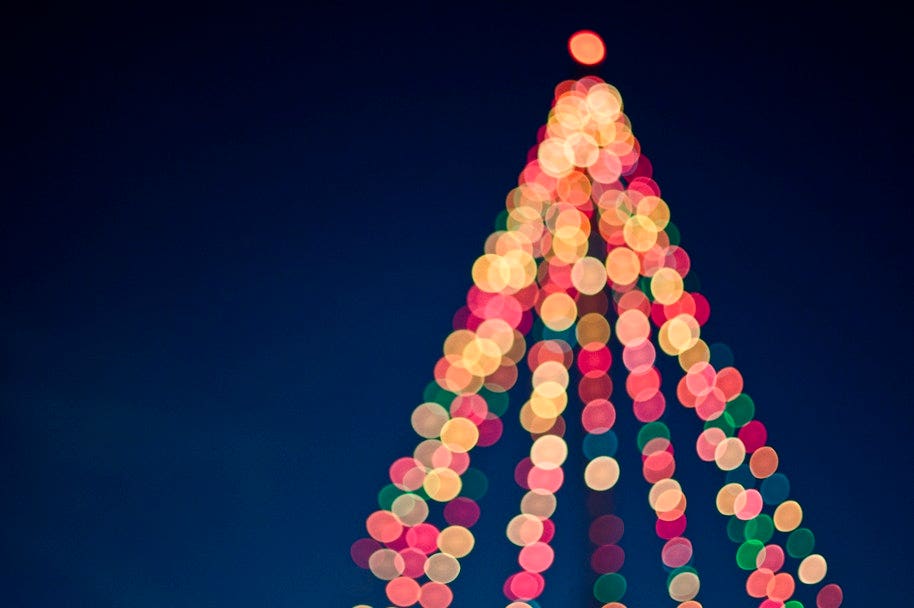
Embrace bokeh photography for a magical effect
Whether you choose to use the lights as the subject of your photo or as a background, bokeh can create a magical effect. In this technique, the lights are blurred until they’re out of focus, creating a whimsical style perfect for Christmas.
To create bokeh, you need to use the following camera settings:
- Set up your DSLR on a tripod to avoid camera blur.
- Switch to Aperture Priority mode and open the aperture wide to f/4 or even wider, if possible.
- Use manual focus to make sure the camera doesn’t try to autofocus on the lights.
If you’re using the lights as a background prop, the settings above work just as well, but you’ll need to ensure the main subject is placed close to the camera and some distance from the lights. The closer your subject is to the Christmas lights, the smaller the bokeh balls will appear.
Learn more about Christmas photography
Get inspired with new ways to improve your Christmas photography, from learning how to photograph Christmas portraits to discovering some new and creative ways to capture Christmas.