

































Ever looked closely at a flower, insect or everyday object and thought, “How did I never notice that?” That’s...
Stores Near You:
BLACK FRIDAY FREE SHIPPING*
Free standard shipping on orders over $99*
Welcome to our NEW website! We appreciate your patience as we continue to enhance your experience.

There’s something pretty incredible about standing under a sky full of stars and capturing it with your camera. Whether you’re chasing the Milky Way, hoping to catch a meteor shower, or just looking to level up your photography skills, astrophotography is one of the most rewarding genres to explore.
And the best part? You don’t need a telescope or a crazy-expensive setup to get started.
Here are some simple tips to help you capture better night sky images on your next stargazing adventure.
Top astrophotography picks
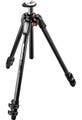
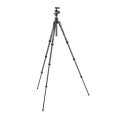
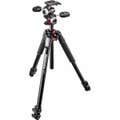
A solid tripod
If there’s one thing worth investing in, it’s a sturdy tripod.
Astrophotography relies on long exposures, which means your camera needs to stay perfectly still for several seconds at a time. Even a slight bump or gust of wind can turn sharp stars into blurry messes. A heavier tripod with a ball head is ideal, giving you flexibility when framing your shot while keeping everything stable.
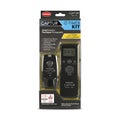
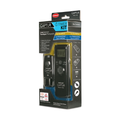
A remote shutter release
Pressing the shutter button with your finger can introduce tiny vibrations that soften your image.


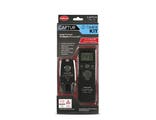
A remote shutter release lets you trigger the camera without touching it. Don’t have one? No problem—simply use your camera’s 2-second timer and let the camera settle before the exposure starts.
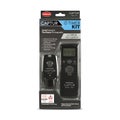
For longer astrophotography sessions, a remote timer or intervalometer can be a game-changer, allowing you to program a series of exposures automatically—perfect for capturing star trails, time-lapses, or large image sequences without having to stand by your camera all night.
A Lens Hood
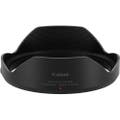
It might seem like a small thing, but a lens hood can save your shoot. As temperatures drop overnight, dew can build up on your lens and ruin your images. A lens hood helps slow moisture build-up and can also block unwanted stray light.
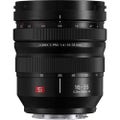
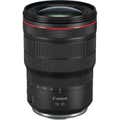
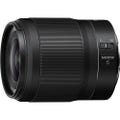
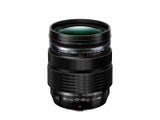
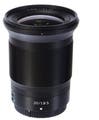
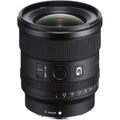
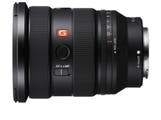
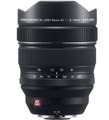
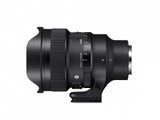
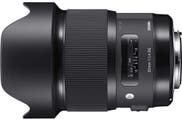
A Wide-Angle Lens
Wide-angle lenses are a favourite among astrophotographers for a reason. They let you capture more of the sky and reduce the appearance of star trails caused by the Earth’s rotation.
Think big skies, sweeping landscapes, and plenty of stars.
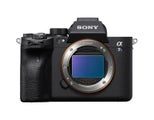
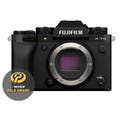
Cameras
Camera settings to get you started
Shoot in RAW
If you’re not already shooting RAW, now’s the time.
RAW files capture much more image data than JPEGs, giving you far more flexibility when editing. You’ll be able to pull out shadow detail, boost stars, and fine-tune colours without sacrificing image quality.
Switch to Manual Mode
Astrophotography is one of those times when you’ll want full control.
Set both your camera and lens to manual mode so you can adjust focus, shutter speed, aperture, and ISO exactly how you need them.


Open Up Your Aperture
Light is your best friend at night.
Use the widest aperture your lens offers—somewhere between f/1.8 and f/4 is a great starting point. The wider the aperture, the more light reaches your sensor.
Increase Your ISO
Night skies are dark, so don’t be afraid to push your ISO higher than usual.
Higher ISO settings can introduce some image noise, but how much noise you’re willing to accept is entirely up to you and the image you’re trying to create. If there’s a bit of ambient light around, you may be able to lower your ISO and enjoy cleaner, sharper images.
Find the Sweet Spot for Shutter Speed
Leave the shutter open for too long and the stars will start turning into streaks. A shutter speed between 15 and 25 seconds is usually a great starting point. Take a test shot, zoom in on the stars, and check whether they’re still sharp points of light.
Lenses
The Handy 500 Rule
Not sure how long your shutter speed should be? Try the 500 Rule:
500 ÷ your lens focal length = maximum shutter speed
For example: 500 ÷ 20mm = 25 seconds. It’s not perfect, but it’s a quick and easy guide for beginners.
Turn Off Image Stabilisation
This one catches a lot of people out. When your camera is mounted on a tripod, image stabilisation can actually introduce tiny movements instead of reducing them. Turn it off before shooting long exposures.
White Balance
Set your white balance to Auto or Daylight and don’t stress too much about it. Since you’re shooting RAW, you can easily adjust colours later during editing.


How to Get Sharp Focus in the Dark
Getting perfect focus at night can be tricky, but this method works surprisingly well:
Take your time here. Nailing focus is one of the biggest differences between an average astro shot and an amazing one.
Tripods
Make Your Photos More Interesting
Add a Foreground Subject
A sky full of stars is great, but adding something in the foreground can take your images to the next level. Trees, mountains, rock formations, jetties, old buildings, or even a lone person can help create scale and tell a story.
Use Silhouettes
Dark silhouettes against a star-filled sky create instant drama and help draw the viewer into the scene.
Try Light Painting
Want to add a bit more depth?
During your exposure, briefly shine a torch or phone light onto a foreground object. Just a second or two of light can reveal details without overpowering the stars.

Accessories


Plan before you go
Check the Moon Phase
If your goal is to photograph stars or the Milky Way, darker skies are better.
A new moon or moonless night will reveal far more stars than a bright full moon, which can wash out detail across the sky.
Get Away From City Lights
Light pollution is the enemy of astrophotography.
The farther you can get from towns and cities, the more stars you’ll see—and the better your photos will look.


Scout Your Location
If possible, visit your location during the day. You’ll be able to find compositions, identify potential hazards, and know exactly where to set up once darkness falls.
Check the Weather
Keep an eye on cloud forecasts and weather conditions before heading out. No stars = no astro photos.
Set Up Before Sunset
Arriving early gives you time to get organised, frame your shot, and adjust your settings before it gets completely dark.
Be Patient
Astrophotography isn’t always a one-shot success story. You’ll tweak settings, experiment, make mistakes, and learn something new every time you head out. That’s all part of the fun.
Telescopes
If you're looking for an easier way to photograph the night sky, a new generation of smart telescopes is making astrophotography more accessible than ever.
Simply turn it on, let it align itself, and it will find, track and photograph celestial objects for you, direct to your connected smart device.
Whether you're a complete beginner or an experienced photographer looking for a hassle-free way to explore the night sky, smart telescopes make it easier than ever to bring the universe into focus.
When’s the Best Time to Photograph the Milky Way in Australia?
For Aussie photographers, Milky Way season typically runs from April through August.
During these cooler months, nights are longer, skies are often clearer, and the galactic core is at its most visible—perfect conditions for capturing those stunning Milky Way shots you’ve been seeing all over Instagram.
Check out our 2026 Night Sky Guide for more information on the must-see astronomical events for the year.

Final Thoughts
Astrophotography is part photography, part adventure, and part patience.
Don’t worry if your first few attempts aren’t perfect. Every night under the stars teaches you something new, and with a bit of practice you’ll be amazed at what your camera can capture.
So grab your gear, find a dark sky, and start exploring. The universe is waiting.
And if you’d like a helping hand along the way, visit your local Camera House store for expert advice and guidance on choosing the right gear for your astrophotography journey.
UPCOMING ASTROPHOTOGRAPHY EVENTS


Ever looked closely at a flower, insect or everyday object and thought, “How did I never notice that?” That’s...

For some photographers, astrophotography begins with a fascination for cameras. For Andrew Murrell from Camera House Erina...

Astrophotography is a unique blend of science, creativity, patience, and adventure. In our Chasing the Cosmos interview series...

A tripod is one of the most useful accessories you can add to your camera kit, but choosing the right one depends entirely...

Finding the right camera starts with understanding how you like to capture the world. Choosing a camera isn’t just...
If you love podcasts but also live on YouTube or TikTok, a vodcast might be your perfect creative outlet. A vodcast (short...

If you’ve been following along with Parts 1 and 2 of our series, you’ve already built a solid foundation and...


Login and Registration Form
Not a member yet?
Create an account to:
Sign up now