















































Ever looked closely at a flower, insect or everyday object and thought, “How did I never notice that?” That’s...
Stores Near You:
BLACK FRIDAY FREE SHIPPING*
Free standard shipping on orders over $99*
Welcome to our NEW website! We appreciate your patience as we continue to enhance your experience.

Getting into bird photography is exciting—but it can also feel a little overwhelming at first. The good news? You don’t need the most advanced setup to get started. A bit of patience, curiosity, and the right features in your gear can go a long way in helping you capture those special moments you spot out in the wild.
Bird photography top picks
What to look for in a camera
Birds don’t sit still for long, so having a camera with fast, accurate autofocus makes a big difference. It helps you quickly lock onto your subject, even when it’s moving through trees or across the sky. Some newer cameras also have subject detection that can recognise birds—this is a huge helping hand when you’re still learning.
Image stabilisation is another great feature, especially if you’re shooting handheld. It helps keep your photos sharp, even if your hands aren’t perfectly steady or you’re using a longer lens. And when the action kicks off, burst shooting (taking lots of photos in quick succession) gives you a better chance of capturing the perfect moment—like wings fully spread or a bird taking off.


Choosing a camera that works for you
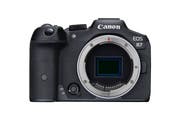
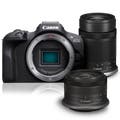
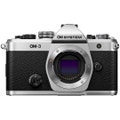
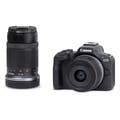
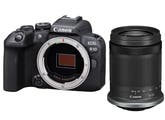
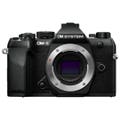
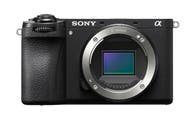
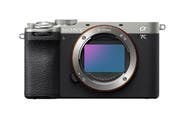
If you’re planning to head out often or spend time walking trails, size and weight start to matter. Cameras with smaller sensors—like APS-C or Micro Four Thirds—are often lighter and easier to carry, along with their lenses. That makes them a great choice for hobbyists who want something capable but still comfortable to use all day.
They also give you a bit of extra reach thanks to something called “crop factor.” In simple terms, your lens appears more zoomed in than it would on a full-frame camera. For example, a 200mm lens on an APS-C camera can give you a view similar to a 300–320mm lens—helping you get closer to birds without needing bigger, heavier gear
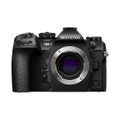
Micro Four Thirds systems take this a step further. They’re known for being compact, and many are built to handle the outdoors with solid weather resistance—perfect if you’re shooting near the coast, in the bush, or wherever your weekend takes you.
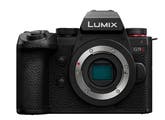
Crop sensor cameras
What about full frame?
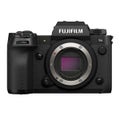
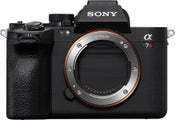
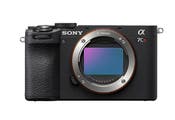
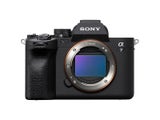
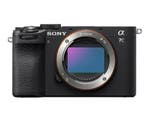
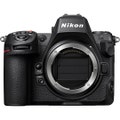
Full-frame cameras bring their own strengths to bird photography, especially as you grow in confidence or start chasing more challenging conditions. One of the biggest advantages is image quality—larger sensors generally perform better in low light, helping you capture cleaner, more detailed images during early mornings or late afternoons when birds are most active.
They also tend to offer better dynamic range, meaning you can retain more detail in both bright highlights and darker shadows—handy when you’re shooting birds against bright skies or mixed lighting. Another benefit is autofocus performance. Many full-frame systems feature advanced tracking and faster processing, which can make a noticeable difference when following fast-moving subjects in flight.
The trade-off? Full-frame gear—especially lenses with longer reach—can be larger, heavier, and more of an investment. But for those looking to push their photography further, the added performance and image quality can be well worth it.

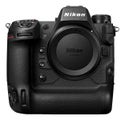
Full frame cameras
Lens must haves
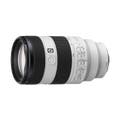
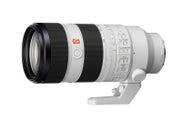
When it comes to bird photography, your lens plays just as big a role as your camera—if not more. The right lens helps you get closer without disturbing your subject, react quickly to movement, and capture sharp, detailed shots you’ll actually want to keep.
Why your lens matters
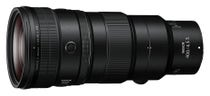
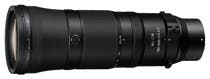
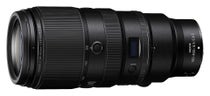
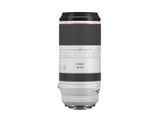
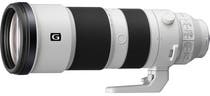
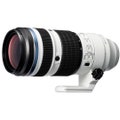
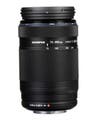
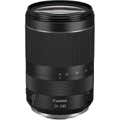
Birds are often distant and easily startled, so having a lens with longer reach is key. It allows you to fill the frame without getting too close and scaring them off. For most beginners and hobbyists, a telephoto lens with an effective focal length of around 300mm is a great starting point—but it’s just as important to choose something you can comfortably hold and use for extended periods.
Image stabilisation is another big help, especially when using longer lenses. It reduces blur from hand movement, making it easier to get sharp shots without needing a tripod every time.


Zoom vs prime lenses
If you’re just getting started, zoom lenses are often the more practical choice. They let you cover a range of focal lengths in one lens, so you can adapt quickly without changing gear. They’re also typically more affordable than prime (single focal length) lenses, making them a great entry point.
Prime lenses can offer excellent image quality and wider apertures, but they’re less flexible—and often heavier and more expensive at longer focal lengths. For many hobbyists, a good telephoto zoom strikes the right balance between performance and versatility.
Finding the right balance
One thing to keep in mind is that longer lenses—and lenses with wider apertures (faster lenses)—tend to be bigger and heavier. If you’re walking trails, travelling, or spending hours outdoors, that weight can add up quickly. Choosing a lens, you can comfortably carry and shoot with will make a big difference to your overall experience.
Extending your reach
If you’re looking to get even closer without investing in a bigger lens, teleconverters can be a handy option. They act a bit like a magnifying glass, extending the effective focal length of your existing lens at a lower cost and with less added weight than upgrading to a new lens.
That said, there are a couple of trade-offs. Teleconverters reduce the amount of light entering your lens (known as lens speed), which can impact performance in lower light. They can also make camera shake more noticeable—so good technique or added stabilisation becomes even more important.
At the end of the day, the best lens is the one that fits your style, your budget, and how you like to shoot. With the right setup, you’ll be ready to capture everything from birds in flight to those quiet, detailed moments in nature.

Shooting tips
Bird photography is one of the most rewarding ways to connect with nature—but it can also feel a little challenging when your subjects are quick, small, and always on the move. The good news? With a bit of patience and the right approach, you’ll be capturing shots you’re proud to share in no time.

Composition is everything
A great bird photo isn’t just about the subject—it’s about how everything comes together in the frame.
Rule of Thirds: Try placing your bird slightly off-centre for a more natural, balanced look.
Clean Backgrounds: Simple backgrounds help your subject stand out and keep the focus where it belongs.
Add Context: Including elements like branches, water, or flowers can help tell a story and bring your image to life. Leaves or branches can frame your shot and add depth.
Mastering the light
Lighting plays a huge role in how your images turn out.
Golden Hour: Early mornings and late afternoons offer soft, flattering light and beautiful colour.
Avoid Midday Sun: Harsh light can create strong shadows and dull colours.
Backlighting: When used well, it can create striking silhouettes or highlight feather detail.
Birds may be unpredictable—but their behaviour often follows patterns.
Frame Before They Arrive: Set your composition and focus ahead of time where you expect the bird to land.
Watch for Patterns: Feeding spots, favourite perches, and flight paths can give you a head start.
Capture Interaction: Moments like feeding, preening, or birds in flight add energy to your shots.

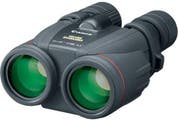
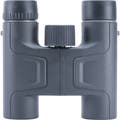
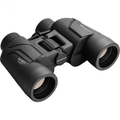
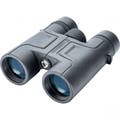
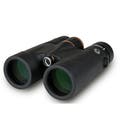
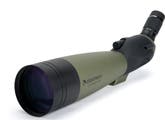
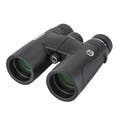
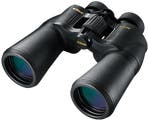
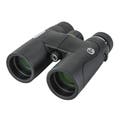
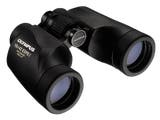
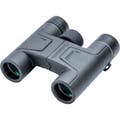
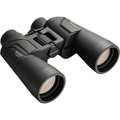
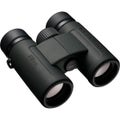
Optics for bird spotting
Patience is your best tool
Bird photography rewards those who slow down. Take your time, observe your surroundings, and enjoy the process. Often, the most memorable shots come when you least expect them.


Useful accessories
When you’re out chasing birds, the right accessories can make all the difference—not just to your photos, but to your overall experience. A few smart additions to your kit can help you stay comfortable, keep your gear protected, and be ready for those fleeting moments when everything lines up perfectly.
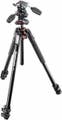
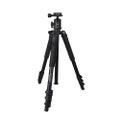
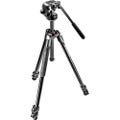
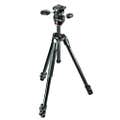
A tripod is a great companion when you’re shooting for longer periods or using heavier lenses. It helps keep your camera steady, especially in low light or when you’re waiting patiently for wildlife to appear. If you prefer to stay a bit more mobile, a monopod offers a nice balance—giving you support without slowing you down.

Stabilisation

A good camera bag is essential for keeping your gear organised and easy to access. Look for something comfortable to carry with enough space for your camera, lenses, and a few extras. And because nature doesn’t always cooperate, rain covers are worth having on hand to protect your gear if the weather turns.
Don’t overlook the basics either—lens cleaning gear like cloths and blowers will help you keep your shots sharp and free from dust or smudges, especially when you’re out in the elements.
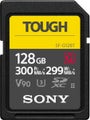
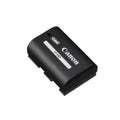
Finally, it’s always a good idea to pack reliable memory cards and spare batteries. Birds are often most active at sunrise and sunset, and the last thing you want is to miss the action because you’ve run out of space or power. Being prepared means you can stay focused on capturing the moment.
Pop into your local Camera House store for more personalised advice and help finding the right gear to suit your needs.


Ever looked closely at a flower, insect or everyday object and thought, “How did I never notice that?” That’s...

For some photographers, astrophotography begins with a fascination for cameras. For Andrew Murrell from Camera House Erina...

Astrophotography is a unique blend of science, creativity, patience, and adventure. In our Chasing the Cosmos interview series...

A tripod is one of the most useful accessories you can add to your camera kit, but choosing the right one depends entirely...

Finding the right camera starts with understanding how you like to capture the world. Choosing a camera isn’t just...
If you love podcasts but also live on YouTube or TikTok, a vodcast might be your perfect creative outlet. A vodcast (short...

If you’ve been following along with Parts 1 and 2 of our series, you’ve already built a solid foundation and...


Login and Registration Form
Not a member yet?
Create an account to:
Sign up now