



























Ever looked closely at a flower, insect or everyday object and thought, “How did I never notice that?” That’s...
Stores Near You:
BLACK FRIDAY FREE SHIPPING*
Free standard shipping on orders over $99*
Welcome to our NEW website! We appreciate your patience as we continue to enhance your experience.

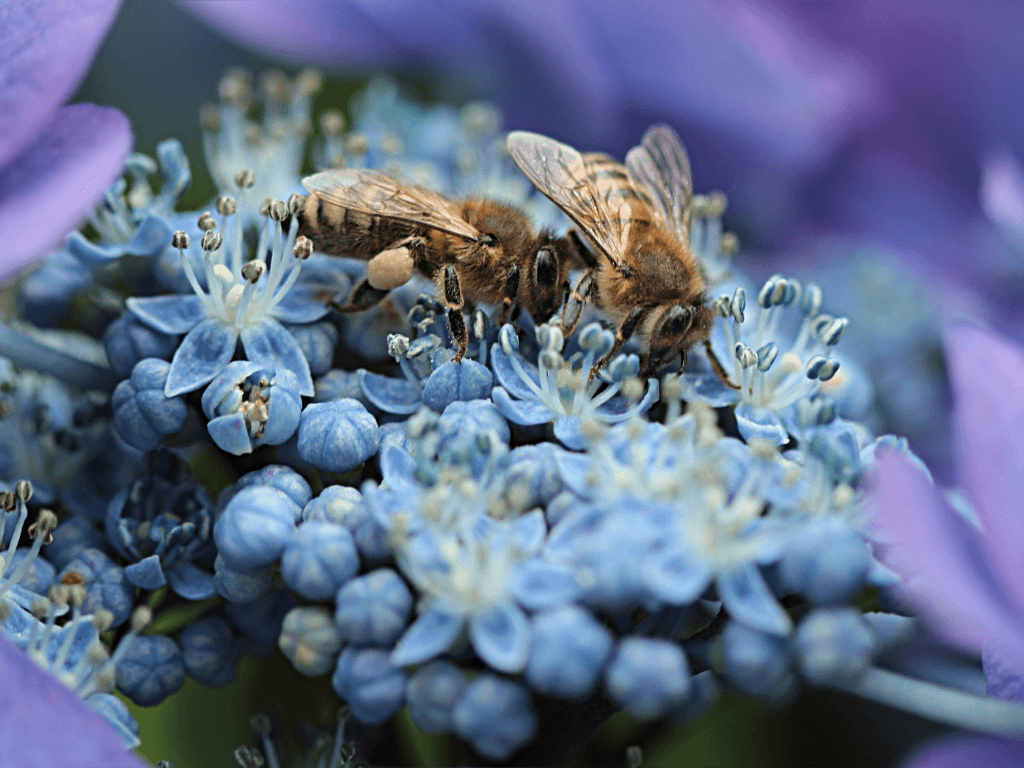
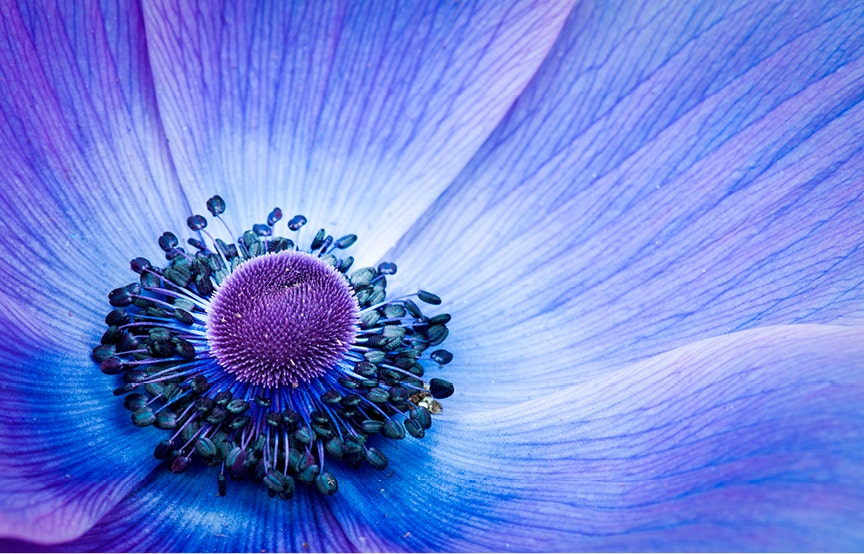
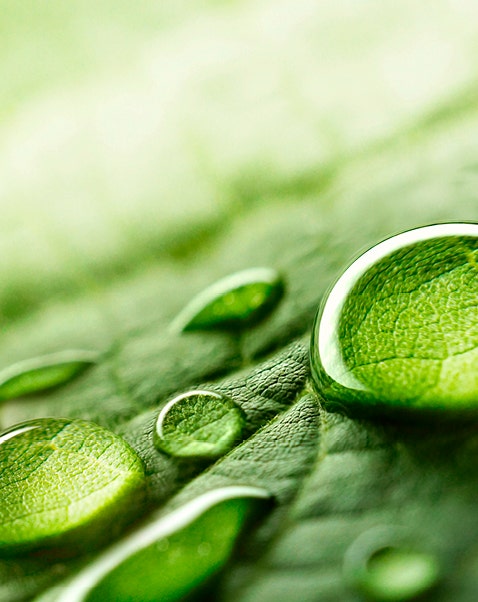
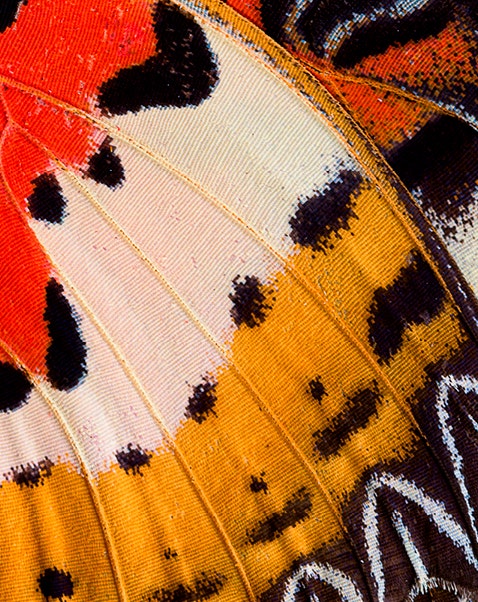
There’s a whole world of detail hiding right in front of us. A flower petal, the wings of an insect, a drop of water or the texture of everyday objects can become something completely different when you get close.
Macro photography lets you explore that tiny world in incredible detail.
Whether you’re just getting started or looking to take your close-ups to the next level, the right technique and gear can help you capture more detail, sharper subjects and beautifully blurred backgrounds.
Top macro photography picks
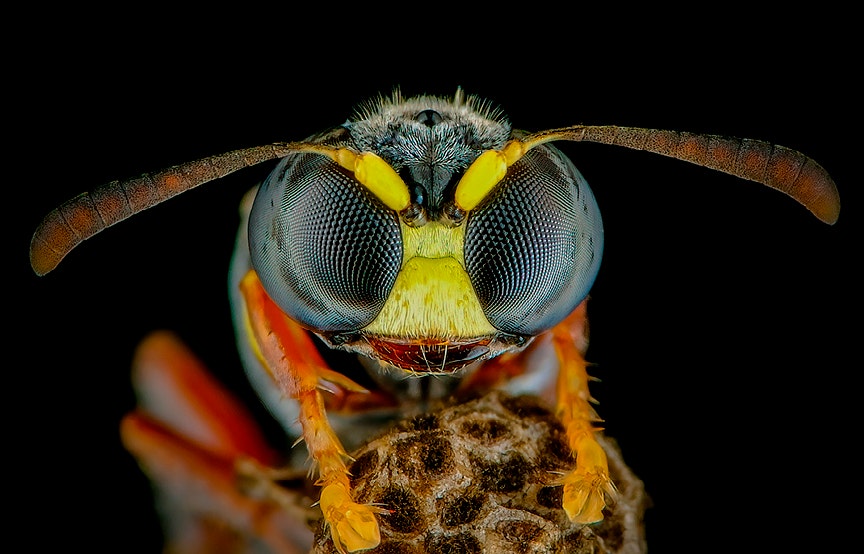
Macro photography is all about photographing small subjects at a very close distance, making them appear life-size or larger in your image.
True macro photography is generally considered 1:1 magnification, meaning the subject is reproduced on your camera’s sensor at its actual size. You’ll also often hear the term “macro” used more broadly to describe close-up photography of small subjects.
And that’s what makes macro so much fun: you start seeing things you normally wouldn’t notice.
From the intricate details of a flower to the tiny patterns on an insect, macro gives you a completely different perspective on the world around you.
You don’t need a huge collection of gear to get started. A mirrorless or DSLR camera and a suitable lens are the essentials, but a few accessories can make macro photography considerably easier.
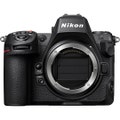
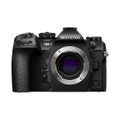
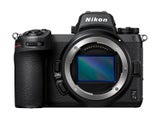
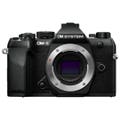
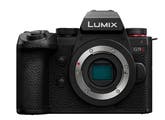
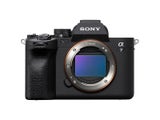
Your camera
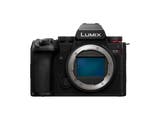
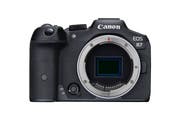
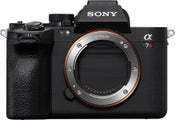
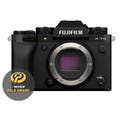
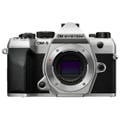
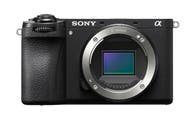
Both DSLR and mirrorless cameras can produce excellent macro images. Look for a camera that gives you good control over aperture, shutter speed, ISO and focusing.
For mirrorless shooters, there’s one small thing worth remembering:
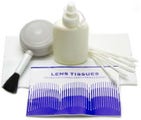
Keep your sensor clean.
Macro photography often involves shooting at smaller apertures, which can make dust spots on your sensor much more noticeable in your images.
Cameras
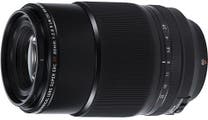
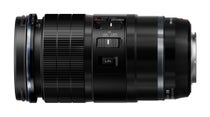
Choosing the right macro lens
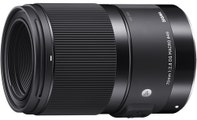
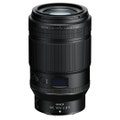
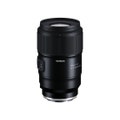
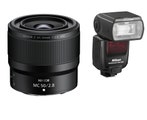
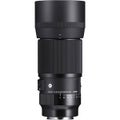
The lens you choose can make a big difference to your macro experience. Common macro focal lengths include 50mm, 90mm, 100mm and 180mm, with each offering a slightly different shooting experience.
50–65mm: Get really close
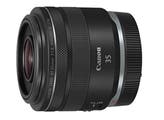
Shorter macro lenses require you to work closer to your subject. They’re a great choice when you’re shooting indoors or working in an environment where you have more control.
90–105mm: The all-rounder
For many photographers, this is the sweet spot. A 90–105mm macro lens gives you a comfortable working distance while remaining versatile enough for flowers, insects, textures and other small subjects, both indoors and outdoors.
150–180mm: Give yourself some space
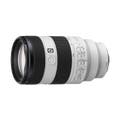
Longer focal lengths allow you to stay further away from your subject while maintaining high magnification. This can be particularly useful for insects and small creatures that may be disturbed if you get too close. It can also help prevent your camera and body from blocking the available light.
Quick tip: Think about what you’ll photograph most often before choosing your focal length. Flowers on a table and skittish insects in the garden can call for very different approaches.
Lenses
Keep it steady
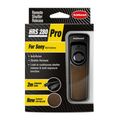
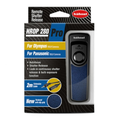
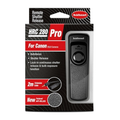
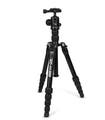
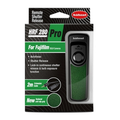
At high magnification, even the smallest camera movement can become obvious. A sturdy tripod can help keep your camera steady and make it easier to carefully compose and focus your shot. For even more stability, use your camera’s self-timer or a remote shutter release to reduce the movement caused by pressing the shutter button.
Want even more precision?
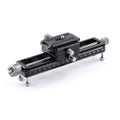
A macro focusing rail sits between your tripod and camera, allowing you to make tiny adjustments to your camera’s position without moving your entire tripod setup.
This can be especially useful when you’re trying to get the exact plane of focus on a tiny subject.
Macro accessories worth knowing about
There are a few other tools that can help you explore macro photography without necessarily investing in another lens.
Extension tubes
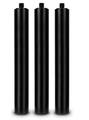
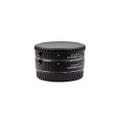
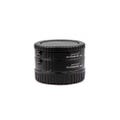
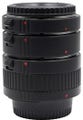
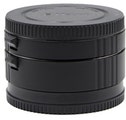
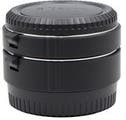
Extension tubes sit between your camera and lens to allow you to focus closer to your subject. They don’t contain additional glass, so they can provide strong magnification without adding another optical element. However, you may lose the ability to focus at longer distances and some light can be lost.
Close-up filters
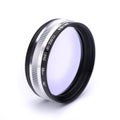
Close-up filters, also known as diopters, attach to the front of your lens and allow you to focus closer. They’re small, portable and easy to use, making them a convenient option for photographers who want to experiment with macro without buying a dedicated macro lens.

Light up your macro photography
The closer you get, the more challenging lighting can become. High magnification can reduce the amount of light reaching your sensor, while your camera and lens can also cast unwanted shadows over your subject. That’s where additional lighting can help.
Ring flashes
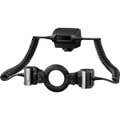
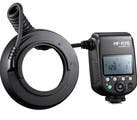
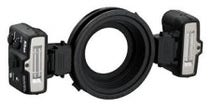
A macro ring flash is a popular choice because it positions light around the front of your lens, helping provide even illumination and reducing shadows caused by the lens itself.
Speedlights & diffusers
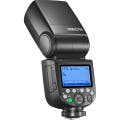
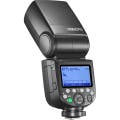
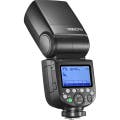
An external speedlight paired with a diffuser can give you more flexibility while helping create softer, more natural-looking light.
Continuous LED lighting
A continuous LED light can also be useful, particularly when you want to see exactly where the light is falling before you take the shot. Don’t be afraid to experiment. Moving your light source, changing its angle or adding diffusion can completely change the mood and detail in your image.
Lighting
Shooting Tips
Once you’ve got your gear sorted, it’s time to start shooting.
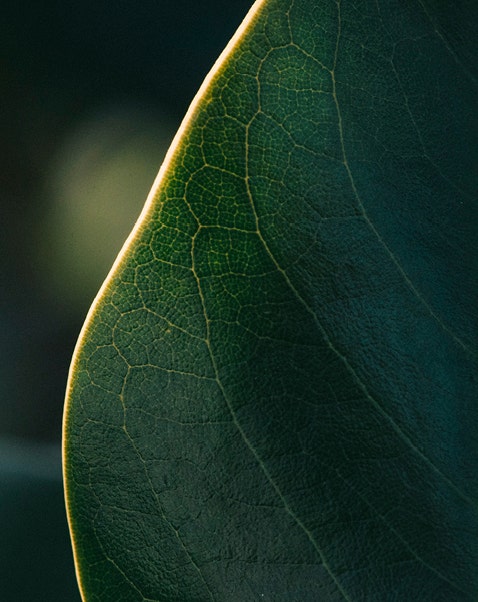
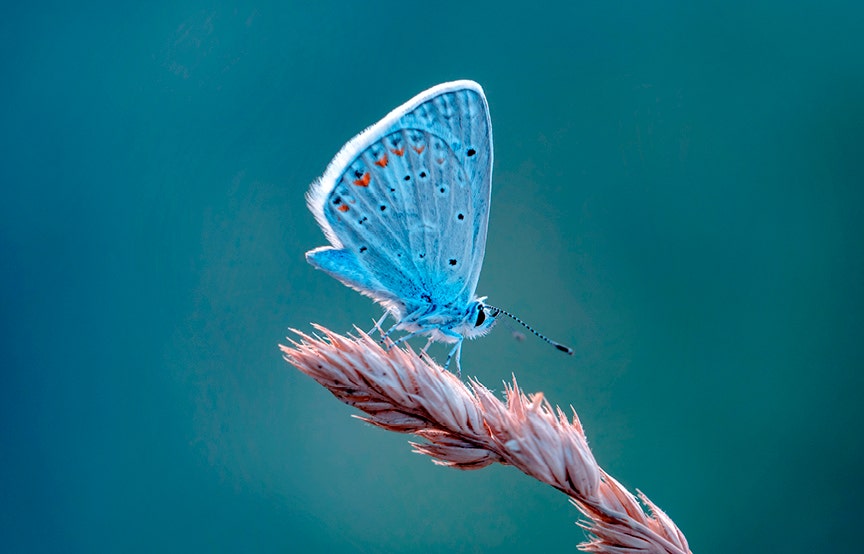
Macro photography can be surprisingly challenging because depth of field becomes extremely shallow at high magnification. Start with Aperture Priority or Manual mode, depending on how much control you want over your exposure. Your aperture has a big impact on your image. A wide aperture such as f/2.8 can create a beautifully shallow depth of field and help isolate a particular part of your subject. For example, when photographing a flower, you might focus on the edge of a petal while allowing the rest of the flower to softly disappear into the background.
Want more of your subject in focus? Try a smaller aperture such as f/13 or f/16. This increases depth of field, although at very high magnification you may still struggle to get the entire subject sharp.
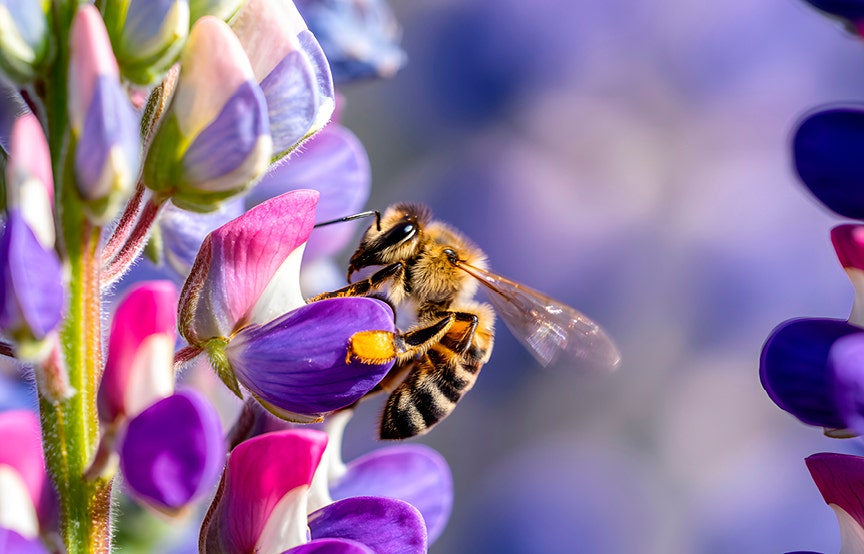
Don’t forget about movement. A slow shutter speed can introduce motion blur, particularly when photographing insects, flowers moving in the breeze or handheld. If you want to use a smaller aperture while maintaining a fast enough shutter speed, you can increase your ISO. Just remember higher ISO can introduce more image noise. It’s all about finding the right balance for the shot you’re trying to capture.
Focusing can be one of the trickiest parts of macro photography. At extremely close distances, autofocus can sometimes hunt back and forth as it struggles to find the exact focus point. That’s where manual focus can be useful. Set your lens to manual focus and use a technique that’s surprisingly simple: Set your focus, then gently rock your camera or body forwards and backwards until your subject falls exactly into the plane of focus.
It takes practice, but you’ll soon get a feel for it.
Accessories
Try selective focus
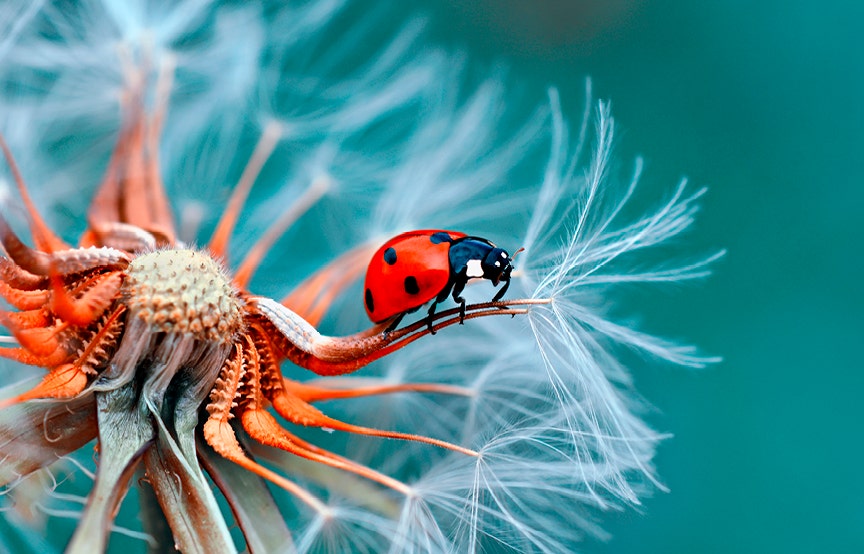
You don’t always need the entire subject to be sharp. With a wide aperture, you can deliberately focus on one small area and let the rest of the subject fall away into a soft blur. The result? A more creative image that draws the viewer exactly where you want them to look.
Take your sharpness further with focus stacking
Want to get your entire subject sharp from front to back?
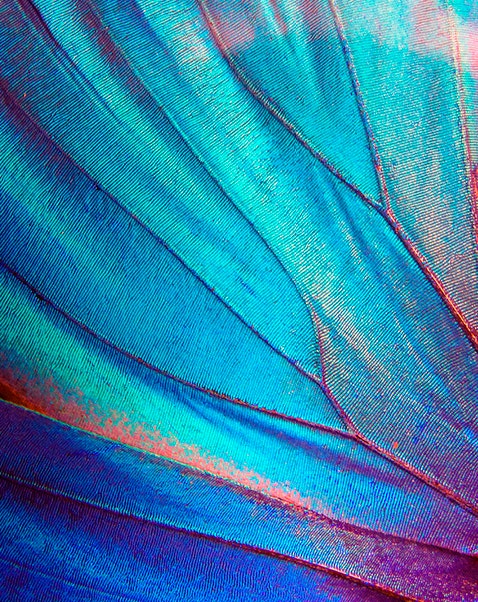
Take a series of photographs at slightly different focus points, then combine them using editing software. Each image captures a different part of the subject in focus. When they’re merged together, you can create a final image with much greater depth of field. This technique is particularly useful for detailed subjects such as insects, flowers, products and textures.
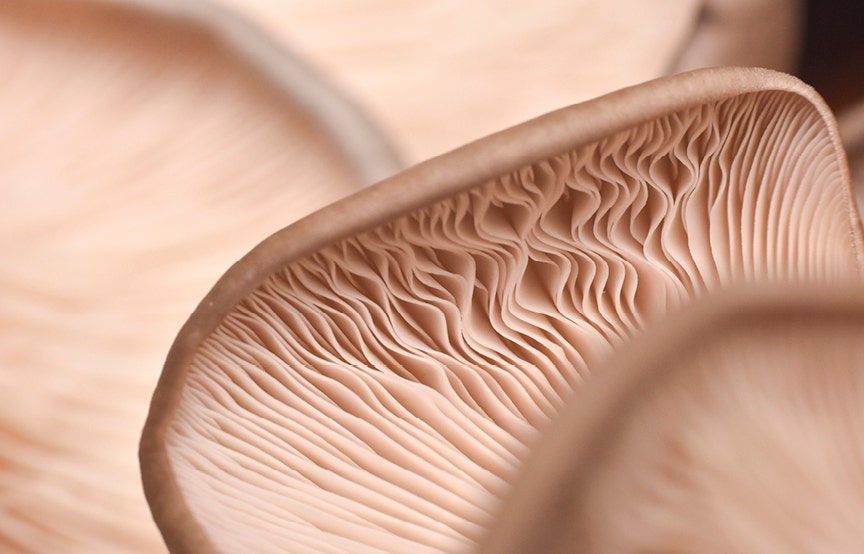
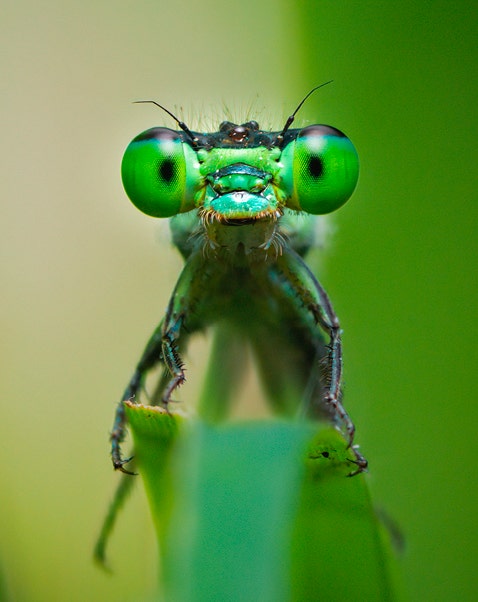
Composition: Look at the little things differently
How you position your subject within the frame can completely change the image. Get closer. Don’t be afraid to push your lens to its limits. Sometimes the most interesting composition comes from filling almost the entire frame with your subject.
Get down to eye level
Photographing a flower or insect from above is easy. Try getting down low and bringing your camera to the same level as your subject. You might suddenly find your subject framed against the sky or a distant background, creating a much cleaner and more engaging image.
Give your background some space
A simple change in your position can dramatically improve your background.
Move so there’s more distance between your subject and what’s behind it. The further the background is from your subject, the softer and more blurred it can appear. Look for colour, bokeh and negative space that can complement your subject rather than compete with it.
Ready to get closer?
Macro photography rewards patience. Your subject might move. Your focus might be off by a few millimetres. The wind might suddenly pick up. You might take 20 photos to get one you’re really happy with.
That’s all part of the process.
Experiment with your settings, move around your subject, try different angles and don’t be afraid to take lots of shots. The more you practise, the better you’ll become at seeing the tiny details worth capturing.
Explore our range of macro photography cameras, lenses, lighting and accessories and start seeing the little things differently.
UPCOMING ASTROPHOTOGRAPHY EVENTS


Ever looked closely at a flower, insect or everyday object and thought, “How did I never notice that?” That’s...

For some photographers, astrophotography begins with a fascination for cameras. For Andrew Murrell from Camera House Erina...

Astrophotography is a unique blend of science, creativity, patience, and adventure. In our Chasing the Cosmos interview series...

A tripod is one of the most useful accessories you can add to your camera kit, but choosing the right one depends entirely...

Finding the right camera starts with understanding how you like to capture the world. Choosing a camera isn’t just...
If you love podcasts but also live on YouTube or TikTok, a vodcast might be your perfect creative outlet. A vodcast (short...

If you’ve been following along with Parts 1 and 2 of our series, you’ve already built a solid foundation and...


Login and Registration Form
Not a member yet?
Create an account to:
Sign up now